1970s Turntable Cartridge Alignment Guide
The Critical Role of Cartridge Alignment in Analog Playback
In the 1970s, vinyl records were the lifeblood of music consumption, and turntable setup was an art form. Central to this ritual was cartridge alignment—a meticulous process ensuring the stylus tracked grooves accurately. Misalignment could distort sound, wear records prematurely, or even damage cherished LPs. Audiophiles and casual listeners alike relied on precise calibration to preserve their collections and unlock the full depth of analog audio. This guide dives into the tools, techniques, and philosophies that defined cartridge alignment during vinyl's golden decade.
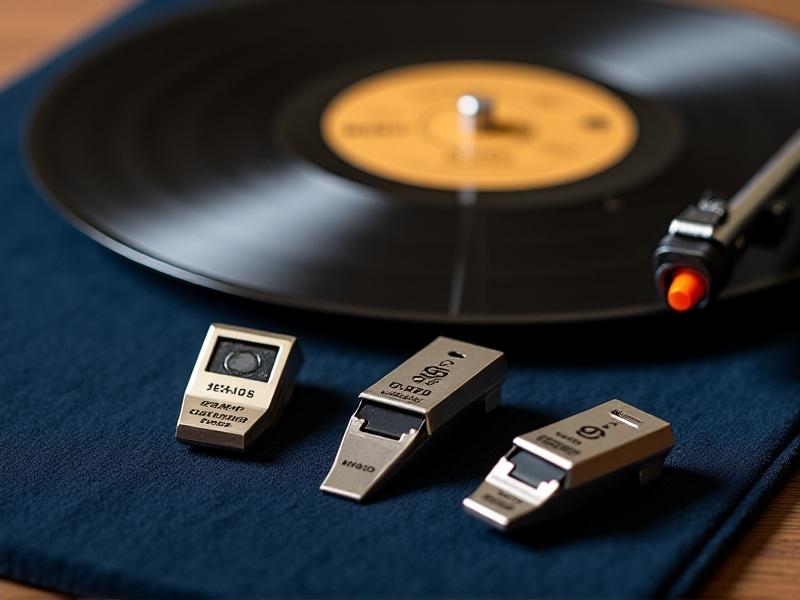
The Evolution of Turntable Cartridge Design in the 1970s
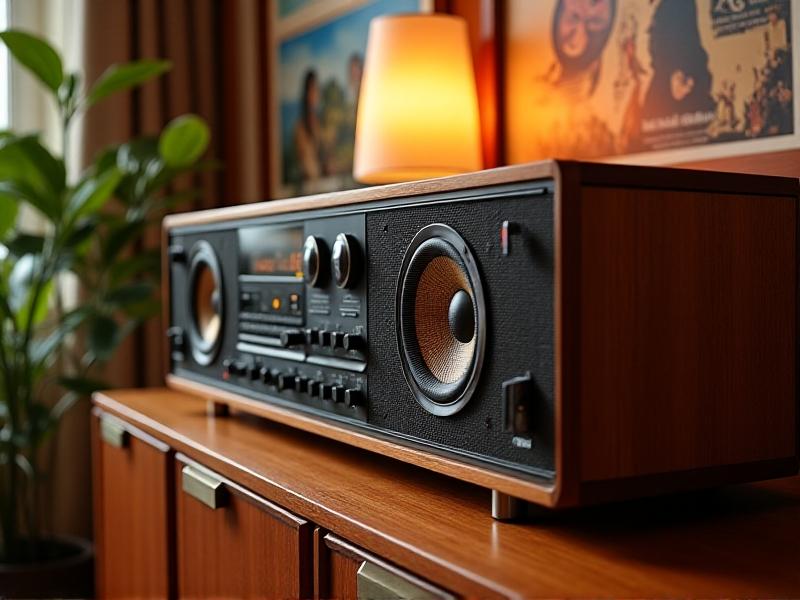
The 1970s saw breakthroughs in cartridge technology, from Shure's V15 series to Stanton's moving magnets. Manufacturers prioritized lower tracking forces and higher compliance, demanding stricter alignment standards. As pickups became more sensitive, enthusiasts needed repeatable methods to optimize vertical tracking angle (VTA) and azimuth. This era also popularized user-replaceable styli, making proper alignment a skill every vinyl lover needed to master. Companies like Audio-Technica and Grado competed to balance precision with user-friendly designs, sparking debates about "ideal" geometries that persist today.
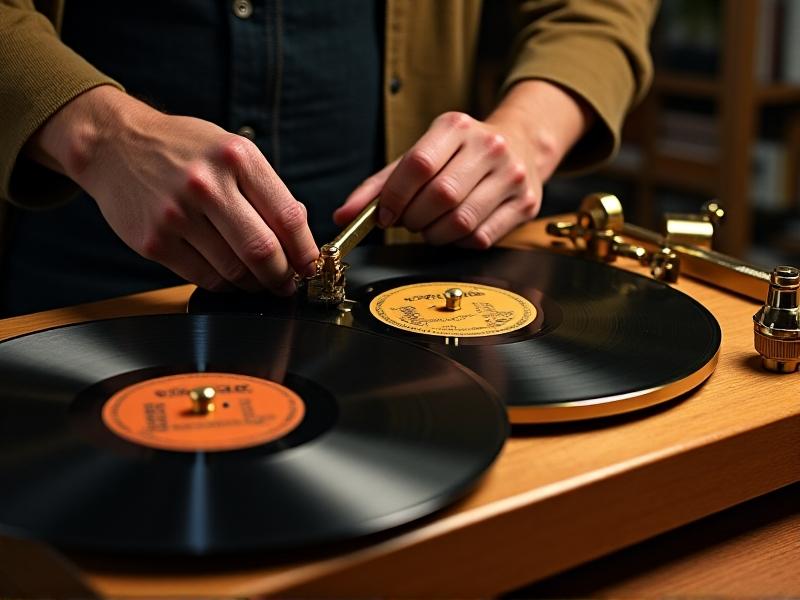
Mastering the Baerwald Protractor: A Step-by-Step Guide
Developed in the 1950s but widely adopted in the 70s, the Baerwald alignment method used null points to minimize distortion. This section walks through using a classic paper protractor: leveling the platter, centering the cartridge, and adjusting azimuth. Key pitfalls included over-tightening mounting screws (which shifts alignment) and ignoring tonearm height. Many 70s manuals emphasized "iterative adjustments"—tiny tweaks followed by play-tests using reference tracks like Pink Floyd's "Dark Side of the Moon" to assess channel balance and high-frequency clarity.

How Tonearm Geometry Influences Alignment Choices
S-shaped vs. straight tonearms. Pivot distances. Effective mass. These factors dictated whether a turntable favored Baerwald, Stevenson, or Loefgren alignment protocols. Dual 1229 owners often leaned into Stevenson's 60.325mm overhang for smoother midranges, while Technics users stuck with factory null points. This section explores matching alignment methods to hardware, including how S-shaped arms (common on Japanese decks) created unique mounting challenges compared to Rega's simpler straight designs.
Listening Tests: Validating Alignment Through Sound
After hours of adjustments, the proof was in the playback. Audiophiles relied on specific LP passages to test alignment success: the bell strikes in Supertramp's "School," the piano decay on Steely Dan's "Aja," or the vocal panning on Beatles stereo mixes. This section details how listeners identified mistracking—sibilance distortion in vocals, fuzzy left-channel highs, or "wandering" stereo images—and which adjustments remedied them. It also covers using test records like Shure's TTR-110 for scientific validation.
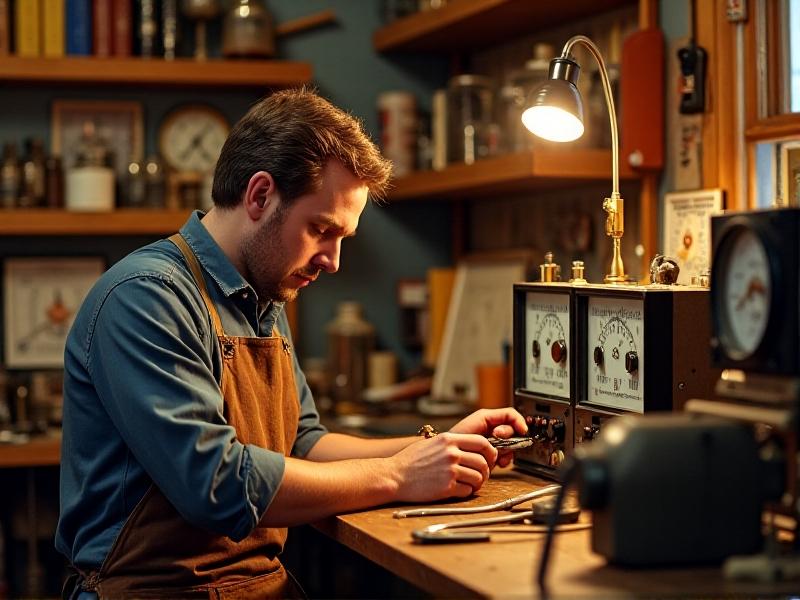
Preserving Your Work: Maintenance Tips from 1970s Experts
Proper alignment could be undone by loose headshells, sagging suspension, or even humidity-swollen plinths. Drawing from 70s service manuals, this section shares period-appropriate care techniques: checking azimuth monthly with a mirror protractor, storing turntables under dust covers, and using spirit levels to combat warped shelving. It also advises on refreshing damping fluids in arms like the SME 3009—a common task as original silicone formulations degraded.
The Legacy of 1970s Alignment Practices in Modern Audiophilia
While digital tools like USB oscilloscopes now aid alignment, purists still swear by 70s methods. This closing section examines why Baerwald grids remain in Rega's manuals, how Mobile Fidelity reissues standardize for modern geometries, and what today’s vinyl revivalists can learn from pioneers like J.I. Agnew. From alignment apps mimicking Technics’ strobe dots to CNC-machined protractors, the quest for perfect tracking continues—a testament to the 1970s’ analog golden age.