Auto-Reverse Mechanism Overhaul
The Anatomy of Auto-Reverse Mechanisms: Understanding Their Function
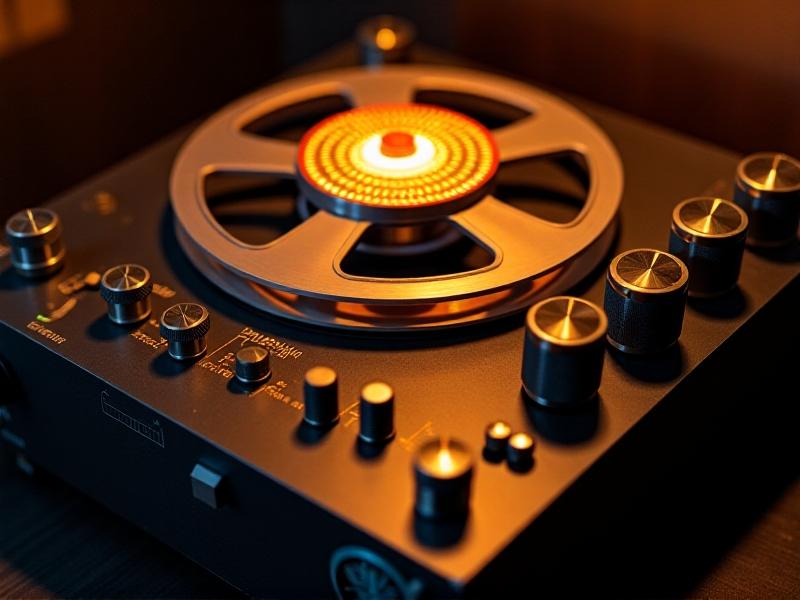
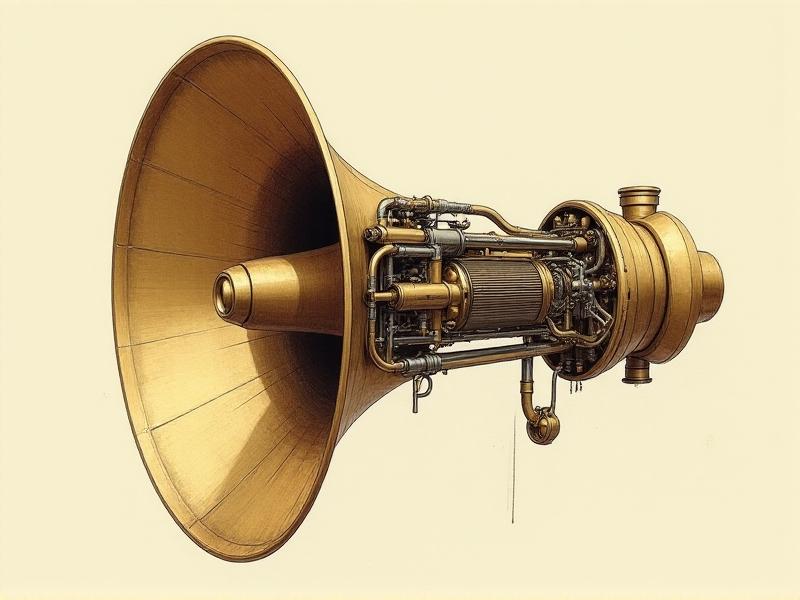
Auto-reverse mechanisms are engineering marvels found in devices like cassette decks and VCRs, designed to switch playback direction automatically. These systems rely on a combination of mechanical and electronic components, including gears, levers, solenoids, and sensors, to detect tape endpoints and initiate reversal. Over time, wear and tear can degrade their efficiency, leading to malfunctions such as incomplete direction changes or inconsistent tape detection. Understanding the interplay between mechanical triggers and electronic signals is critical for diagnosing issues. This section explores the core principles of auto-reverse systems, highlighting their role in preserving media playback continuity.
A Brief History: The Evolution of Auto-Reverse Technology
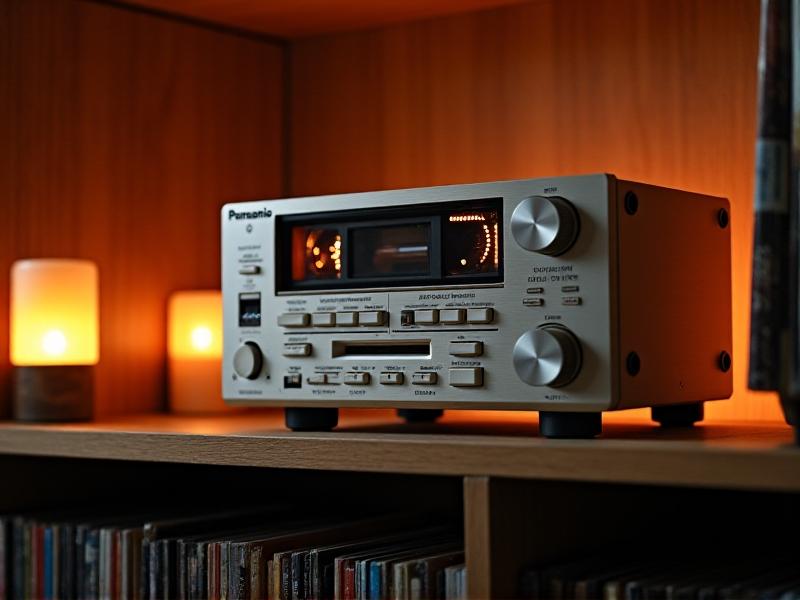
Auto-reverse mechanisms debuted in the 1970s, revolutionizing audio and video playback by eliminating manual tape flipping. Early iterations, like Sony’s TC-330, used mechanical levers, while later models incorporated infrared sensors for precision. The 1980s saw mass adoption in consumer electronics, with brands like Technics and JVC refining reliability. However, the shift to digital media in the 2000s relegated these systems to niche repair markets. Today, enthusiasts value them for retro tech restoration. This section traces their technological milestones, from clunky mechanical designs to sleek, sensor-driven solutions, and their cultural impact on media consumption.
Common Issues: Diagnosing Auto-Reverse Failures
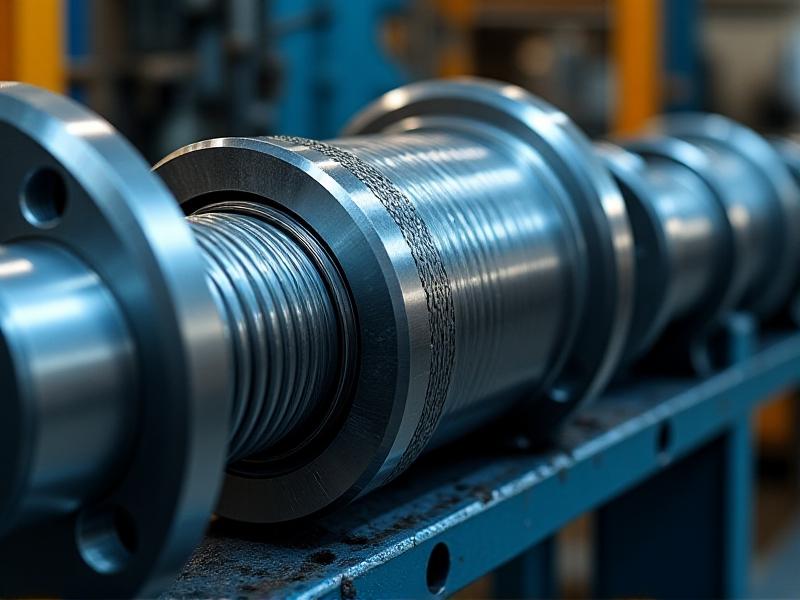
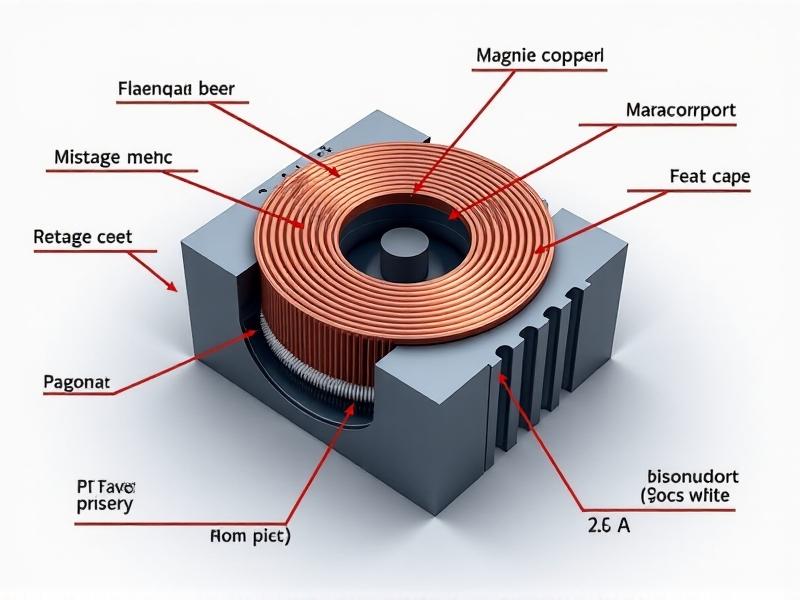
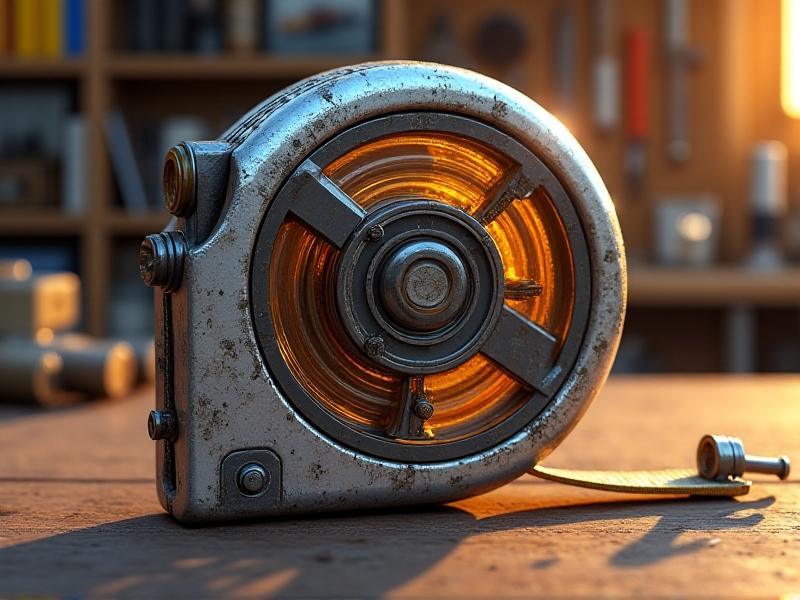
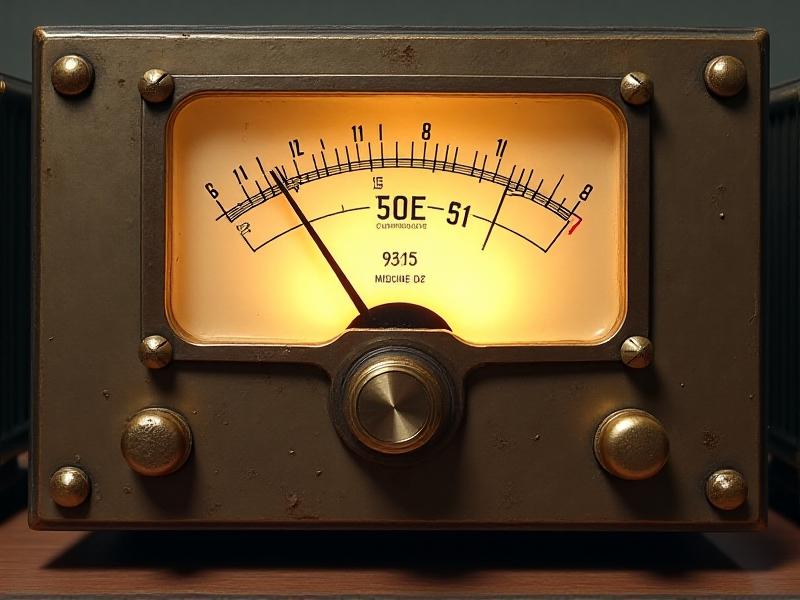
Auto-reverse mechanisms often fail due to aged rubber belts, misaligned sensors, or corroded electrical contacts. Symptoms include erratic direction changes, grinding noises, or complete unresponsiveness. Belt slippage disrupts gear synchronization, while dirty sensors misread tape position. Solenoid coils, which actuate the reversal process, may weaken over time. This section guides readers through troubleshooting steps, such as inspecting belt tension, cleaning optical sensors with isopropyl alcohol, and testing solenoid resistance with a multimeter. Emphasizing preventive care, it underscores how routine maintenance can mitigate premature failures in vintage devices.
Step-by-Step Overhaul: Restoring Precision to Your Mechanism
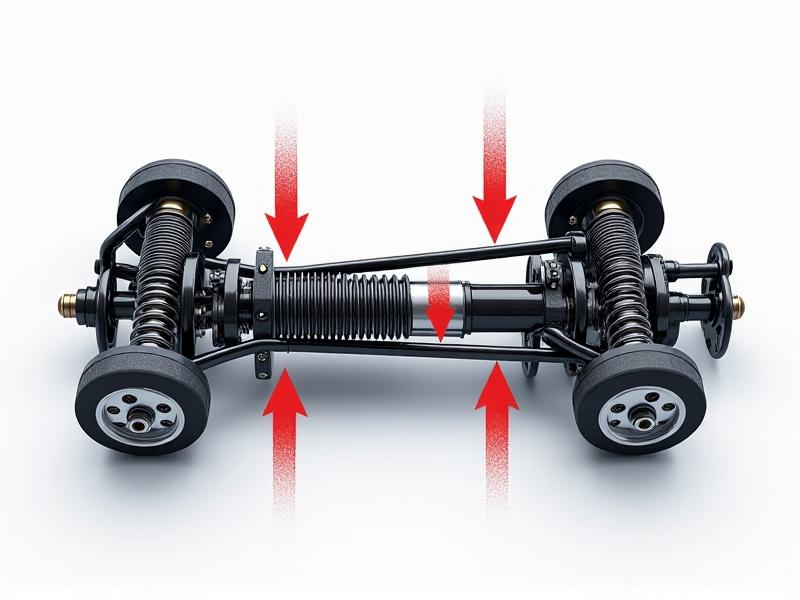
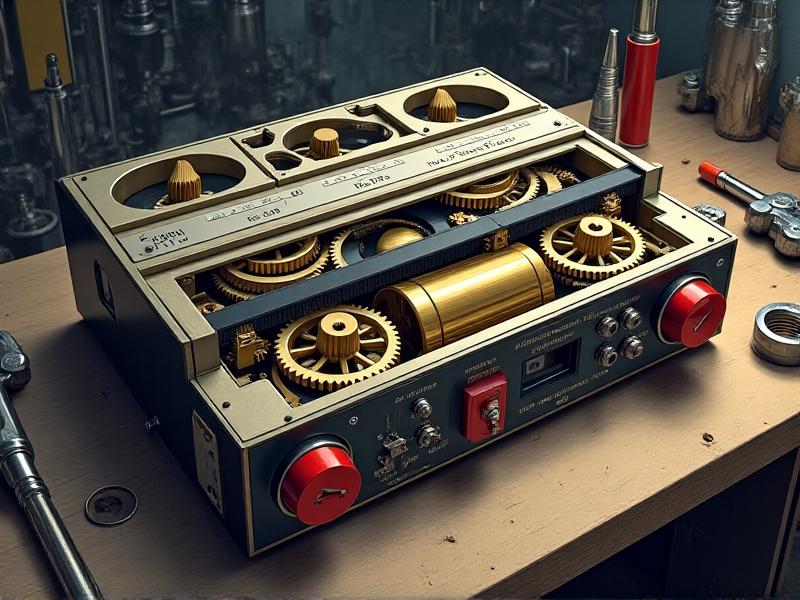
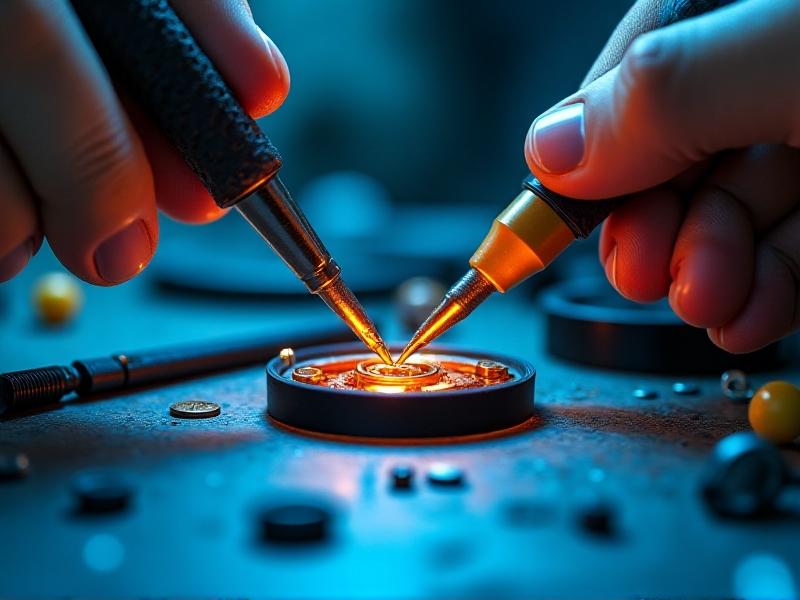
Overhauling an auto-reverse system requires meticulous disassembly, cleaning, and part replacement. Begin by removing the device’s casing and documenting component layouts. Degrease gears and levers, replace stretched belts, and lubricate pivot points with silicone grease. Check solenoid actuation force and recalibrate tape-end sensors using a reference cassette. Reassembly demands precise alignment to ensure smooth operation. This section provides a detailed walkthrough, emphasizing organization (e.g., using magnetic trays for screws) and testing at each stage. Tips include sourcing OEM parts for authenticity and using oscilloscopes to verify sensor signals.
Maintenance Tips: Prolonging the Life of Your Auto-Reverse System
Regular maintenance prevents costly repairs. Clean tape paths monthly to remove oxide buildup, which can strain mechanisms. Avoid leaving tapes paused, as static tension stresses gears. For solenoid-driven systems, periodic resistance checks ensure consistent actuation. Store devices in low-humidity environments to prevent corrosion. This section offers a checklist for enthusiasts: quarterly lubrication, belt inspections, and using high-quality cassettes to minimize wear. Highlighting the importance of gentle handling, it bridges retro tech preservation with modern best practices.
Future Innovations: Modernizing Vintage Auto-Reverse Mechanisms
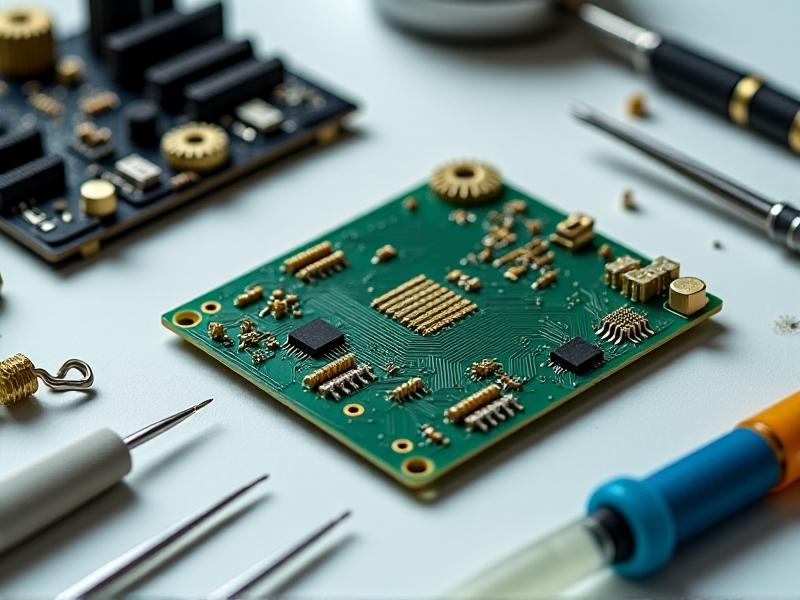
While classic auto-reverse systems are analog, modern upgrades can enhance reliability. 3D-printed nylon gears offer durability over brittle originals. Arduino microcontrollers can replace obsolete sensor circuits, enabling programmable logic. Enthusiasts are even integrating Bluetooth modules into retro decks, pairing vintage mechanics with wireless audio. This section explores DIY projects and aftermarket kits that breathe new life into old hardware, proving that nostalgia and innovation can coexist. Case studies include a restored Nakamichi Dragon with optical encoder enhancements for flawless tape detection.