Cabinet Veneer Preservation Methods
Understanding Cabinet Veneer Materials and Their Vulnerabilities
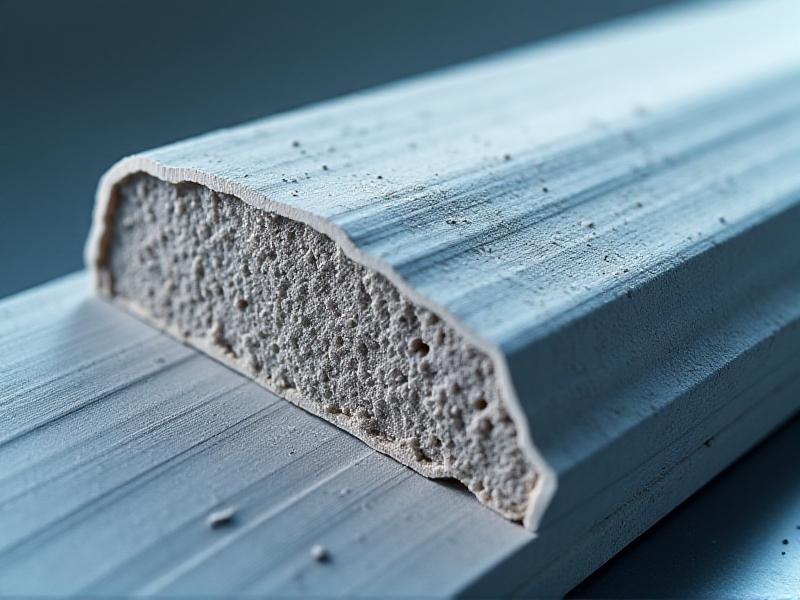
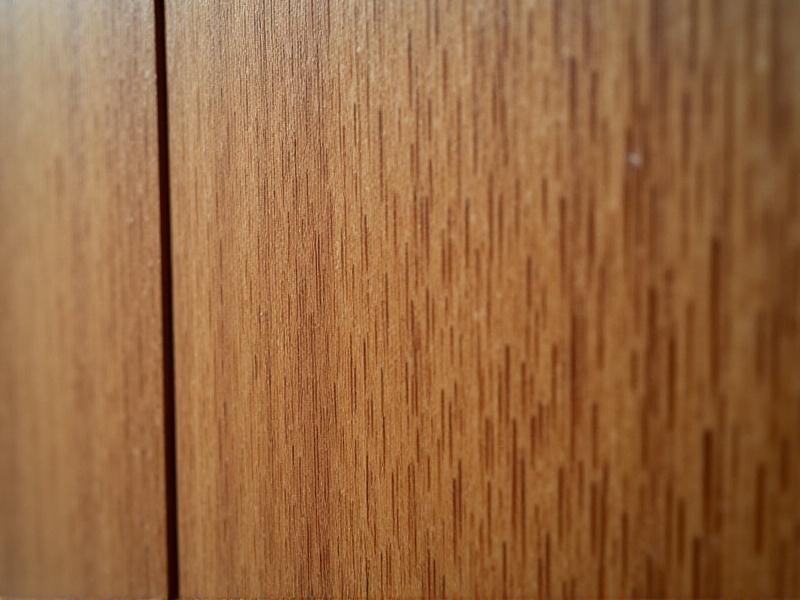
Cabinet veneers, often crafted from wood, laminate, or synthetic materials, add aesthetic value while protecting underlying substrates. However, their thin layered structure makes them susceptible to damage. Natural wood veneers, for example, can warp due to moisture exposure, while laminate surfaces may peel under prolonged heat. Recognizing the type of veneer material is the first step in tailoring preservation strategies. For instance, hardwood veneers like oak or walnut require different care than thermofoil or vinyl alternatives. Common vulnerabilities include scratches, peeling edges, and discoloration from sunlight. By understanding these weaknesses, homeowners can proactively address risks through preventive maintenance.
Daily Cleaning Techniques to Prevent Veneer Degradation
Regular cleaning is critical to preserving veneer finishes. Dust and grime can accumulate in crevices, causing abrasion over time. Use a microfiber cloth dampened with water or a pH-neutral cleaner to wipe surfaces gently. Avoid abrasive sponges or ammonia-based products, which may strip protective coatings. For stubborn stains, apply a diluted vinegar solution (1:3 ratio with water) and dry immediately. Always wipe along the veneer’s grain to prevent micro-scratches. Spills should be addressed promptly—especially liquids like wine or oils, which can seep into seams and cause swelling. Incorporating these habits minimizes long-term wear and maintains the veneer’s luster.

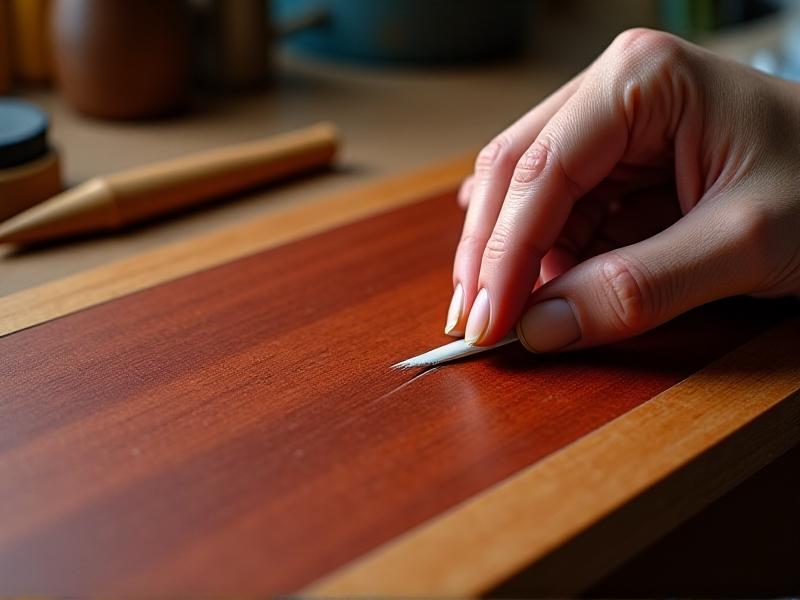
Repairing Minor Scratches and Peeling Edges
Minor scratches on veneers can often be remedied with DIY solutions. For shallow marks, apply a wax-based filler stick matching the cabinet’s color, then buff gently with a lint-free cloth. Deeper grooves may require wood putty, applied with a plastic spatula and sanded smooth once dry. Peeling edges, caused by adhesive failure, can be reattached using specialized veneer glue. Place parchment paper over the repaired area and clamp it until the adhesive sets. Avoid excess glue seepage, which can stain the surface. These fixes restore appearance while preventing further damage, though severe cases may warrant professional intervention to ensure structural integrity.
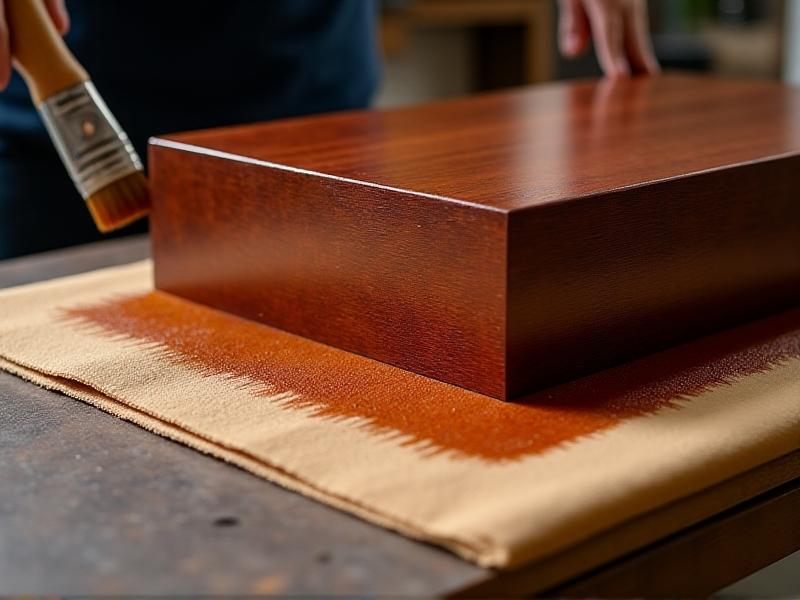
Protective Coatings and Sealants for Enhanced Durability
Applying protective coatings shields veneers from moisture, UV rays, and daily wear. Water-based polyurethane is ideal for wood veneers, offering a clear, non-yellowing finish. Laminate surfaces benefit from acrylic sealants that repel stains without altering sheen. Always test products on inconspicuous areas first. For eco-conscious homeowners, natural beeswax or plant-based oils provide a thin protective layer, though reapplication is needed monthly. Sealants should be applied in thin, even coats using a foam brush, with drying time adhered to strictly. This proactive measure not only preserves aesthetics but also reduces the frequency of repairs.
Controlling Environmental Factors: Humidity and Sunlight
Environmental stability is crucial for veneer longevity. Fluctuating humidity levels cause wood veneers to expand and contract, leading to cracks. Use a dehumidifier or humidifier to maintain 40–50% relative humidity. Position cabinets away from direct sunlight, which fades colors and dries out adhesives. UV-blocking window films or sheer curtains can mitigate light damage. In kitchens, avoid placing veneered cabinets near dishwashers or stoves, where steam and heat are concentrated. Seasonal adjustments—like using silica gel packets in humid months—help preserve structural cohesion. These measures create a balanced environment that mitigates veneer stress.
Long-Term Maintenance: When to Seek Professional Help
While many preservation tasks are DIY-friendly, certain issues demand expert attention. Extensive water damage, delamination across large areas, or warped veneers signal deeper structural problems. Professionals use industrial-grade adhesives, hydraulic presses, or veneer replacement techniques beyond typical homeowner tools. Additionally, refinishing discolored or aged veneers often requires specialized sanding equipment and stain-matching expertise. Scheduling annual inspections with a cabinet specialist can preempt catastrophic failures. Investing in professional care ensures that intricate repairs are executed without compromising the cabinet’s functionality or resale value.