Capacitor Replacement Safety Protocols
Understanding Capacitor Basics and Risks
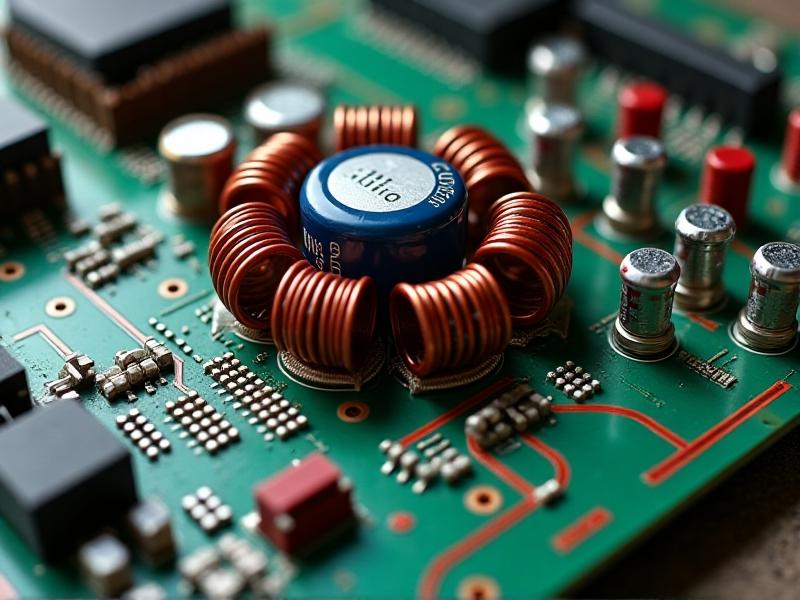
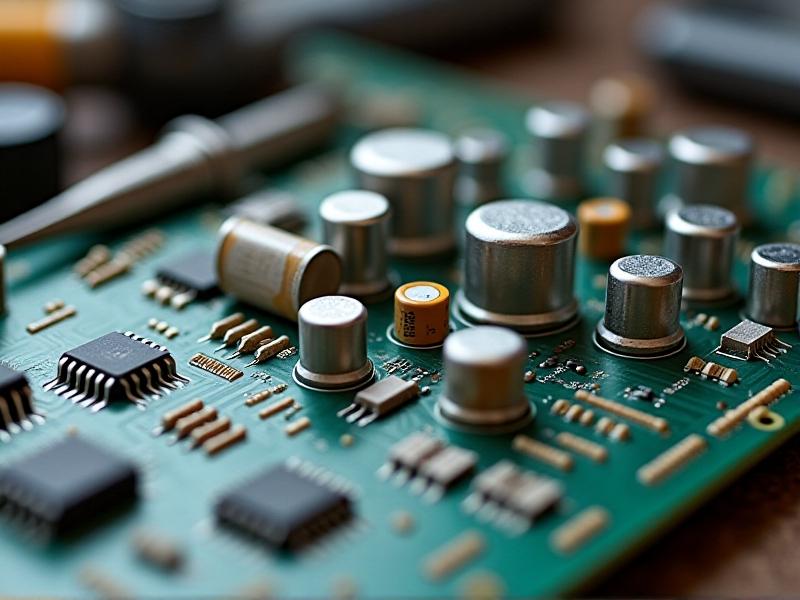
Capacitors are passive electronic components designed to store and release electrical energy. Found in nearly every electronic device, they vary in type—electrolytic, ceramic, film, and tantalum—each with unique characteristics. Over time, capacitors degrade due to factors like heat, voltage stress, or aging electrolytes, leading to bulging, leakage, or failure. Replacing them requires understanding their role in circuits, voltage/current ratings, and polarity (for electrolytic types). Ignoring these specifics can result in incorrect replacements, circuit malfunctions, or safety hazards.
Pre-Replacement Safety Preparations
Before handling capacitors, prioritize safety. Disconnect the device from power sources and confirm no residual charge remains using a multimeter. Gather insulated tools, safety goggles, and anti-static gloves to prevent electric shocks or short circuits. Work in a dry, well-ventilated area to avoid humidity-induced risks. For high-voltage systems, employ a discharge resistor or tool to neutralize stored energy. Document the capacitor’s orientation and specifications to ensure the replacement matches the original’s parameters. Skipping these steps risks personal injury or circuit damage.

Safe Discharge Techniques for Capacitors
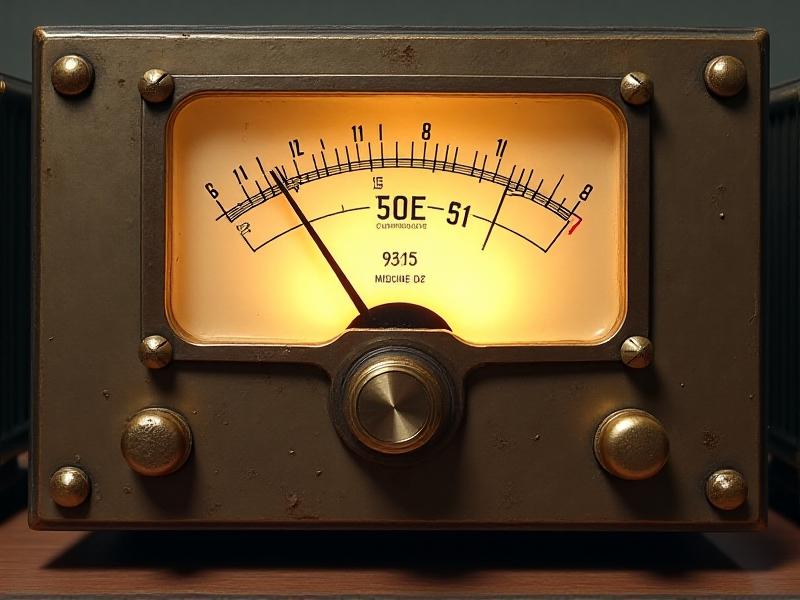
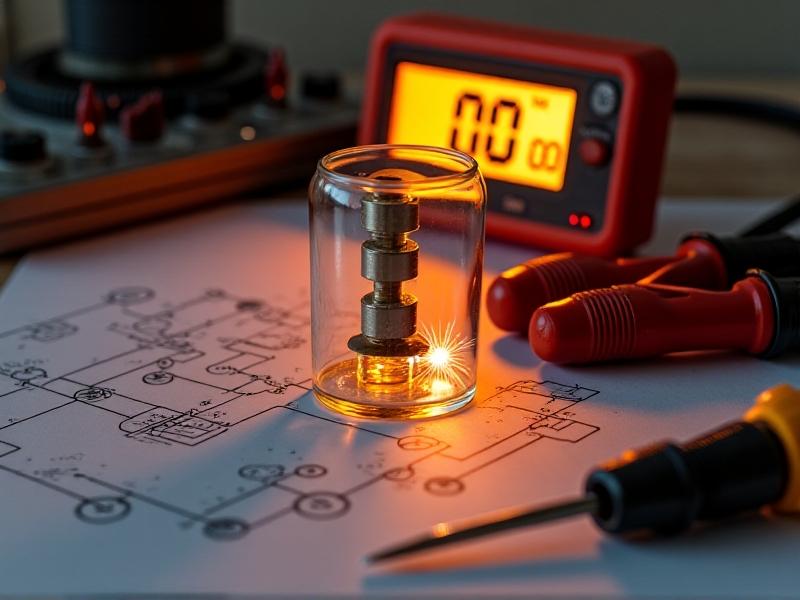
Capacitors can retain dangerous charges even after power removal. To discharge safely, use a resistor (e.g., 1kΩ, 5W) connected to insulated probes, bridging the capacitor terminals until voltage drops to near zero. Avoid shorting terminals with metal tools, as sparks or heat may damage components. For larger capacitors, like those in power supplies, employ a bleeder resistor or dedicated discharge pen. Always verify discharge with a multimeter before proceeding. This step is critical in high-voltage applications, where residual energy can cause severe electrical burns.
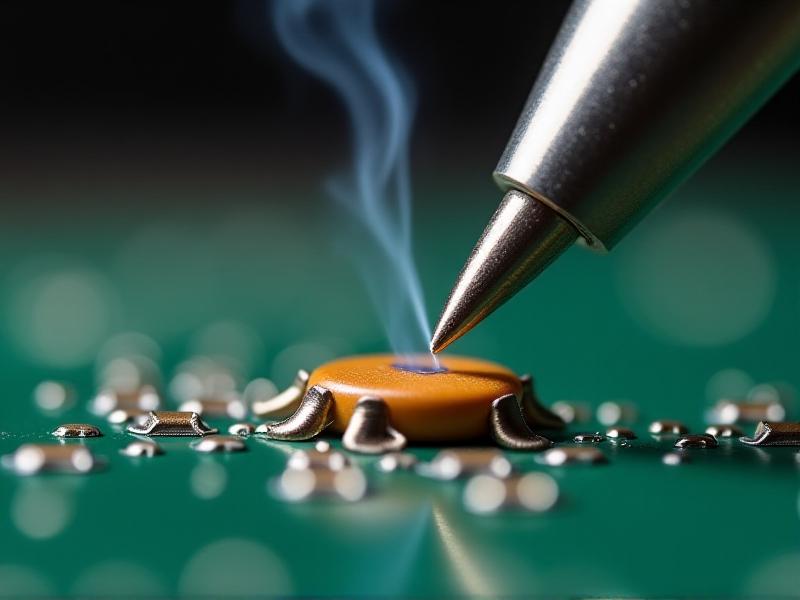
Removal and Replacement Best Practices
Desolder the faulty capacitor carefully, using a temperature-controlled iron to avoid overheating nearby components. For through-hole types, gently extract the leads after solder liquefies. Surface-mount capacitors require precision hot air tools. Clean the pad with flux remover to ensure proper adhesion for the new capacitor. Install the replacement with correct polarity, matching voltage, capacitance, and temperature ratings. Double-check solder joints for cracks or cold connections. Rushing this phase risks poor connections, overheating, or premature failure.
Post-Replacement Testing and Validation
After installation, test the circuit with a multimeter or oscilloscope to confirm the replacement capacitor functions within expected parameters. Look for abnormal voltage drops, ripple currents, or heating. Power the device incrementally, starting at low voltages to detect shorts. Validate performance under load to ensure stability. Document results for future reference. Skipping validation may leave latent issues undetected, risking device reliability or user safety.
Environmentally Responsible Disposal Methods
Failed capacitors often contain toxic materials like beryllium or corrosive electrolytes. Dispose of them via certified e-waste recyclers to prevent environmental contamination. Never incinerate capacitors, as explosions or toxic fumes may result. Local regulations may dictate specific handling protocols for industrial-grade components. Responsible disposal protects ecosystems and complies with legal standards.
Lessons from Real-World Capacitor Failures
In 2018, a manufacturing plant’s HVAC system failed due to swollen electrolytic capacitors. Technicians identified overheating from blocked vents as the root cause. Replacement included upgrading to high-temperature-rated capacitors and improving airflow. Another case involved a data center UPS where mismatched replacements caused voltage instability, highlighting the need for exact specifications. These examples underscore adherence to protocols to prevent operational downtime or hazards.