Chassis Rust Removal Without Damage
Understanding the Risks of Improper Rust Removal
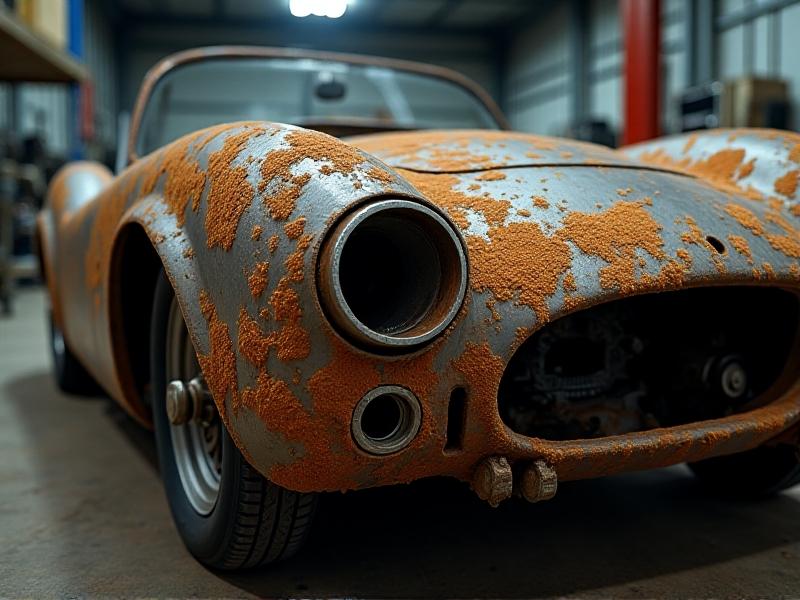
Rust on a vehicle’s chassis isn’t just an eyesore—it’s a structural threat. However, aggressive removal techniques can weaken the metal, leading to costly repairs or even safety hazards. The goal is to eliminate corrosion while preserving the integrity of the underlying material. Common mistakes, like using harsh abrasives or skipping protective coatings, often exacerbate the problem. This section explores why a balanced approach is critical for both safety and longevity.
Identifying the Type and Severity of Rust
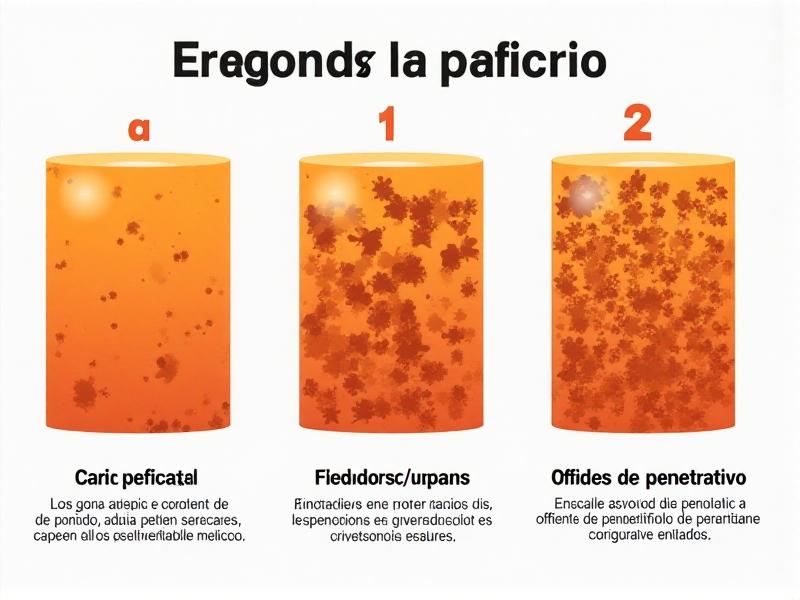
Not all rust is created equal. Surface rust, characterized by a reddish-brown film, is often manageable with minimal intervention. Scale rust, however, forms pits and layers that compromise structural strength. Penetrative rust—visible as holes or crumbling metal—demands immediate action. By assessing the corrosion stage, you can choose the right removal strategy without over-treating undamaged areas. A magnet test helps determine if rust has eaten through the metal.
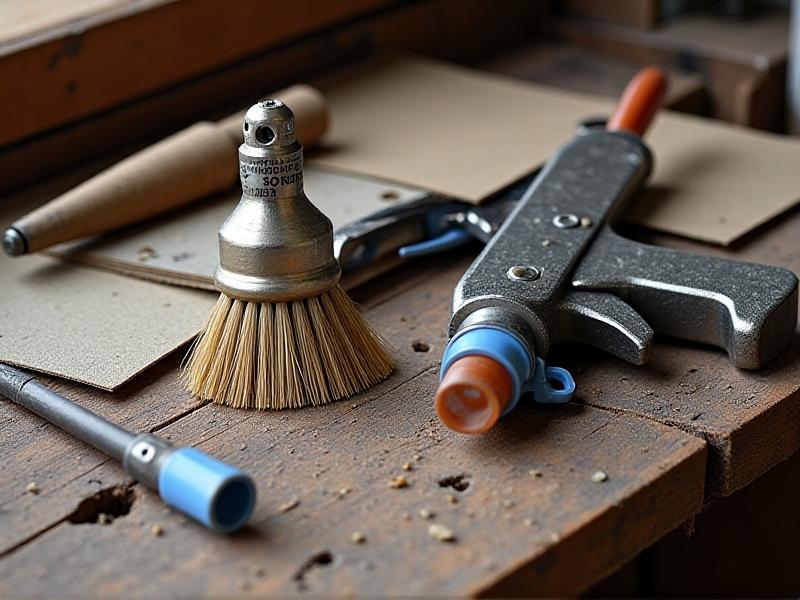
Essential Tools and Materials for Non-Destructive Rust Removal
Selecting the right tools is half the battle. Soft wire brushes, nylon abrasive pads, and low-pressure sandblasters minimize metal loss. For chemical treatments, phosphoric acid-based converters dissolve rust without attacking healthy steel. Eco-friendly options like vinegar or citric acid work for light corrosion. Always pair these with rust inhibitors and epoxy primers to seal the surface post-treatment. Don’t forget PPE: gloves, goggles, and respirators are non-negotiable.
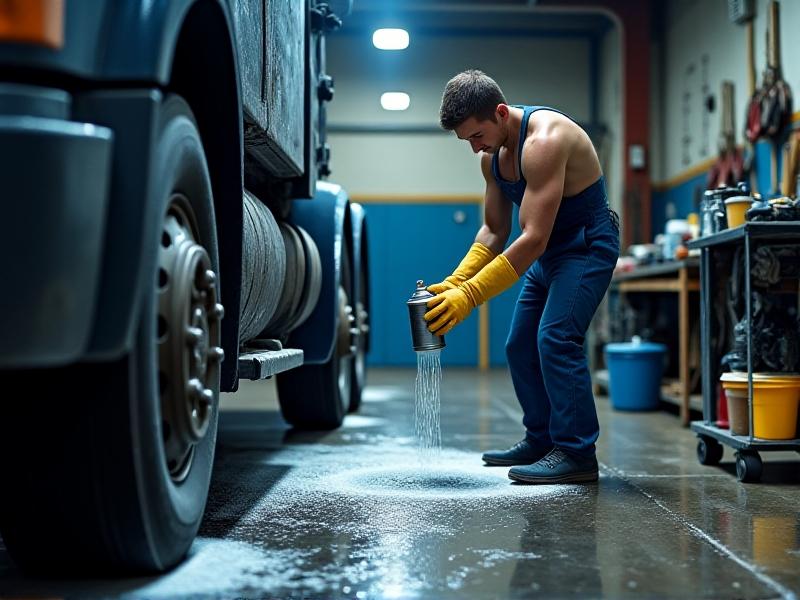
Preparing the Chassis for Rust Treatment
Preparation prevents poor performance. Start by degreasing the chassis with a biodegradable cleaner to remove dirt and oil. Use a plastic scraper to dislodge loose rust flakes gently. For hard-to-reach areas, compressed air or a vacuum ensures debris doesn’t interfere with treatment. Masking off surrounding components with painter’s tape protects them from abrasive or chemical splatter. A clean, dry workspace is essential—moisture reintroduces rust risk.
Mechanical Methods: Scrubbing, Sanding, and Media Blasting
Mechanical removal is ideal for localized rust. Brass wire brushes are gentler than steel and won’t spark on contact. For deeper corrosion, 80–120 grit sandpaper strips layers gradually. Media blasting with baking soda or crushed glass offers precision but requires expertise to avoid warping thin metal. Always work in small sections, checking progress frequently. Finish with a wipe-down using isopropyl alcohol to eliminate residual dust.
Chemical Rust Converters and Their Safe Application
Chemical converters transform iron oxide into a stable compound, creating a paintable surface. Apply phosphoric acid gel with a foam brush, letting it sit for 10–20 minutes before rinsing. Avoid oversaturation—excess liquid can seep into seams. For eco-conscious users, citric acid solutions require longer dwell times but are less toxic. Neutralize treated areas with baking soda and water to halt chemical activity.
Neutralizing Residual Contaminants Post-Removal
After mechanical or chemical treatment, leftover particles or acids can accelerate new rust. Use a pH-neutral cleaner to wash the chassis, followed by a passivation spray to restore the metal’s inert surface. Compressed air dries crevices effectively. Inspect for missed spots under bright LED lighting—shadows often hide problem areas. This step ensures the chassis is pristine before applying protective coatings.
Preventive Coatings to Protect Bare Metal
Protection begins immediately after rust removal. Epoxy primers bond tightly to metal, blocking moisture ingress. For added durability, topcoat with chassis-specific enamel or rubberized undercoating. Ceramic coatings offer heat resistance but require professional application. Avoid petroleum-based products—they trap moisture. Reapply coatings annually in high-splash zones like wheel arches.
Long-Term Maintenance Strategies
Prevention trumps repair. Wash the chassis monthly, focusing on salt and mud buildup. Apply fluid film or lanolin-based inhibitors to vulnerable joints before winter. Store vehicles in dry, ventilated spaces or use moisture-absorbing bags in enclosed areas. Annual inspections using an endoscope reveal hidden corrosion in frame rails. Addressing minor flaws early saves time, money, and stress down the road.