Control Pot Deoxit Treatment Procedures
Understanding Control Pots and the Impact of Oxidation
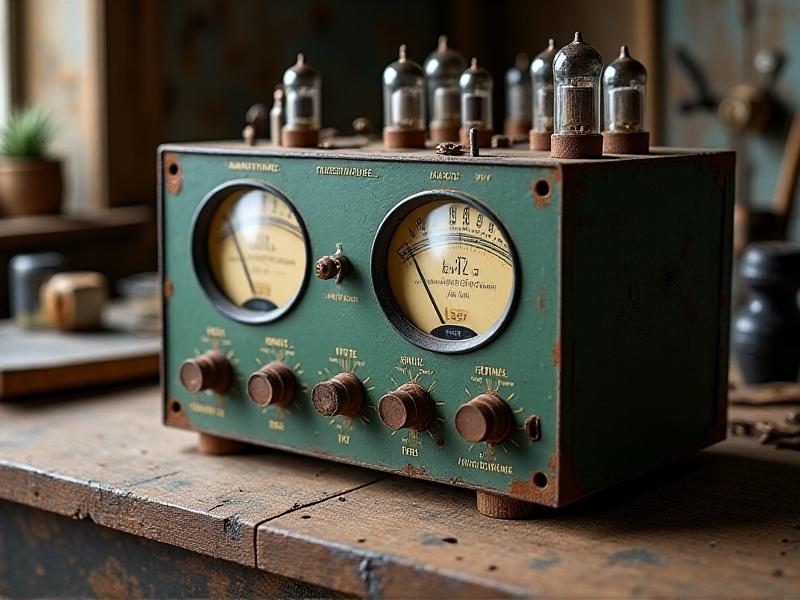
Control pots, or potentiometers, are critical components in audio equipment, industrial machinery, and consumer electronics. Over time, oxidation—a chemical reaction between metal contacts and oxygen—creates a layer of corrosion. This disrupts electrical conductivity, leading to symptoms like static noise, erratic volume adjustments, or complete signal loss. Humidity, temperature fluctuations, and airborne contaminants accelerate this process. Recognizing the early signs of oxidation, such as crackling sounds or intermittent operation, is key to preventing long-term damage. Neglecting this issue can degrade performance or render devices unusable, making proactive maintenance essential.
Essential Tools and Preparatory Steps for Deoxit Treatment
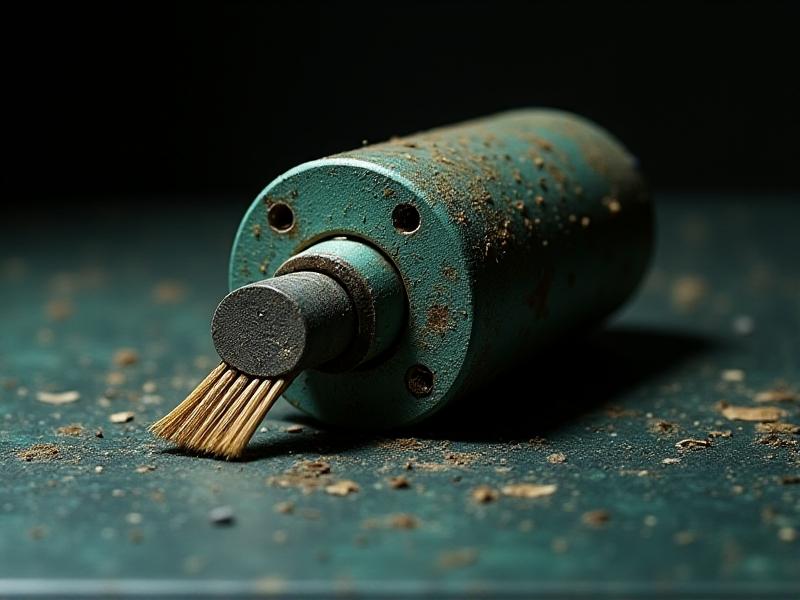
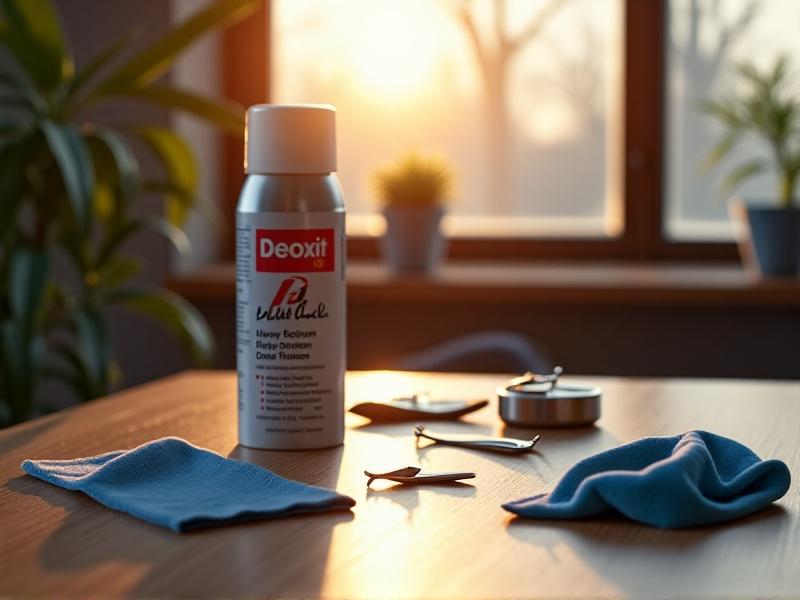
Before applying Deoxit, gather the right tools: Deoxit D5 spray, lint-free microfiber cloths, a small brush (e.g., anti-static or precision toothbrush), and isopropyl alcohol for residue removal. Power off and unplug the device to avoid electrical hazards. Access the control pot by removing panels or knobs, documenting disassembly steps for reassembly. Inspect for visible dirt or debris—gentle brushing can pre-clean the area. Cover sensitive components like circuit boards with masking tape to prevent accidental exposure. Safety gear like gloves and goggles is recommended, especially in enclosed spaces. Proper preparation ensures the treatment targets only the affected areas, minimizing risk.
Step-by-Step Deoxit Application Process
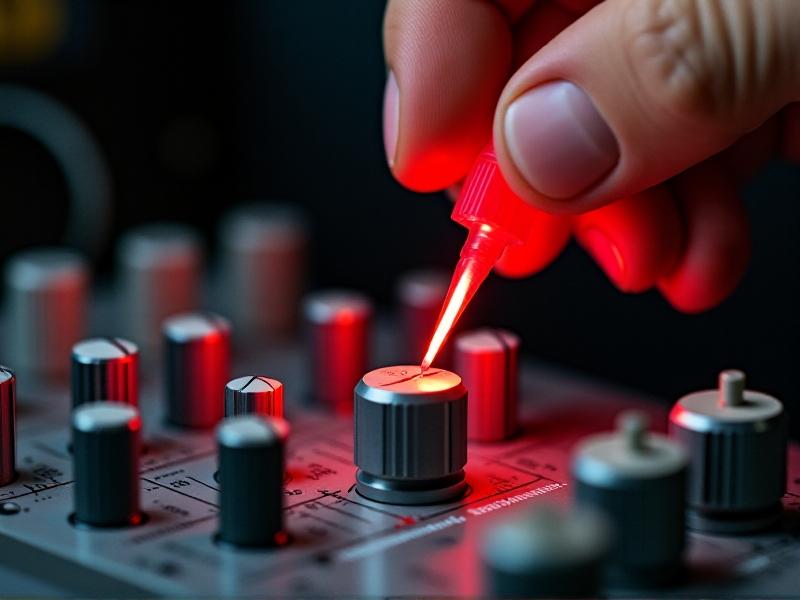
Shake the Deoxit can vigorously to activate its solvents. Insert the applicator straw into the nozzle and direct it toward the control pot’s openings. Apply a short, controlled burst—avoid oversaturating. Rotate the potentiometer’s shaft multiple times to distribute the solution across internal contacts. For stubborn corrosion, repeat the process after letting the solution sit for 1–2 minutes. Wipe excess liquid with a cloth, then use isopropyl alcohol on non-contact surfaces to remove grime. Reassemble the device incrementally, testing functionality after each step. This methodical approach ensures thorough cleaning without leaving residue that could attract dust.
Best Practices for Optimal Results
Timing matters—address oxidation at the first sign of issues. Apply Deoxit sparingly; excess liquid can seep into unintended areas. Rotate the control pot’s shaft 10–15 times during treatment to scrub contacts mechanically. Use high-purity isopropyl alcohol (99%) for secondary cleaning to avoid water residue. Label screws and components during disassembly to streamline reassembly. Document each maintenance session, noting performance improvements or recurring issues. Avoid abrasive tools that could scratch conductive surfaces. For vintage equipment, test Deoxit on a small area first to check for material compatibility. Consistency in these practices extends the lifespan of treated components.
Long-Term Benefits of Regular Deoxit Maintenance
Routine Deoxit treatments preserve signal integrity, reduce wear from abrasive corrosion, and prevent costly replacements. Devices maintain optimal performance, crucial for professionals in audio engineering or manufacturing. Regular use minimizes environmental oxidation triggers, as Deoxit’s protective film repels moisture and contaminants. Over time, this preventative care reduces downtime and extends equipment resale value. For hobbyists, it ensures vintage gear remains functional, preserving historical or sentimental value. The cumulative cost savings from avoided repairs or replacements far outweigh the modest investment in Deoxit and tools.
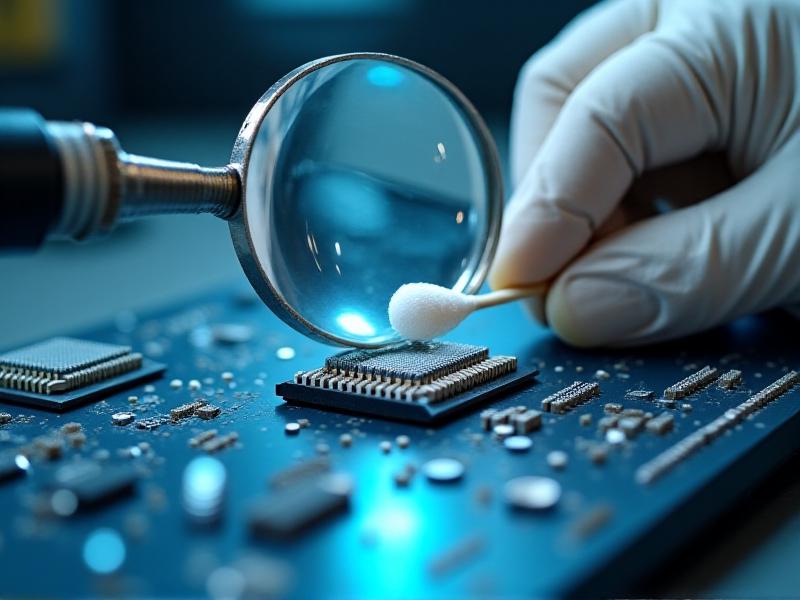
Troubleshooting Common Post-Treatment Issues
If issues persist after treatment, reassess disassembly steps—misaligned components can cause mechanical resistance. Check for residual oxidation in hard-to-reach areas using a magnifier. Ensure Deoxit has fully evaporated before powering the device; residual moisture may cause short circuits. Test with a multimeter to verify resistance consistency across the potentiometer’s range. For intermittent operation, inspect solder joints or wiring harnesses connected to the control pot. If problems endure, consider replacing the potentiometer or consulting a specialist. Documenting these steps helps identify recurring patterns, refining future maintenance efforts.
Integrating Deoxit into a Holistic Maintenance Routine
Combine Deoxit treatments with environmental controls—use dehumidifiers in storage areas and dust covers for idle equipment. Schedule bi-annual cleanings for heavily used devices, or after exposure to harsh conditions. Pair electrical maintenance with mechanical lubrication of sliders or knobs using appropriate greases. Create a checklist merging Deoxit steps with firmware updates or capacitor inspections. Educate users on handling practices to minimize contamination. This integrated approach transforms Deoxit from a reactive fix to a proactive component of broader system care, ensuring reliability across all device functions.