Dust Cover Hinge Repair Hacks
Understanding Dust Cover Hinges: Types and Mechanics
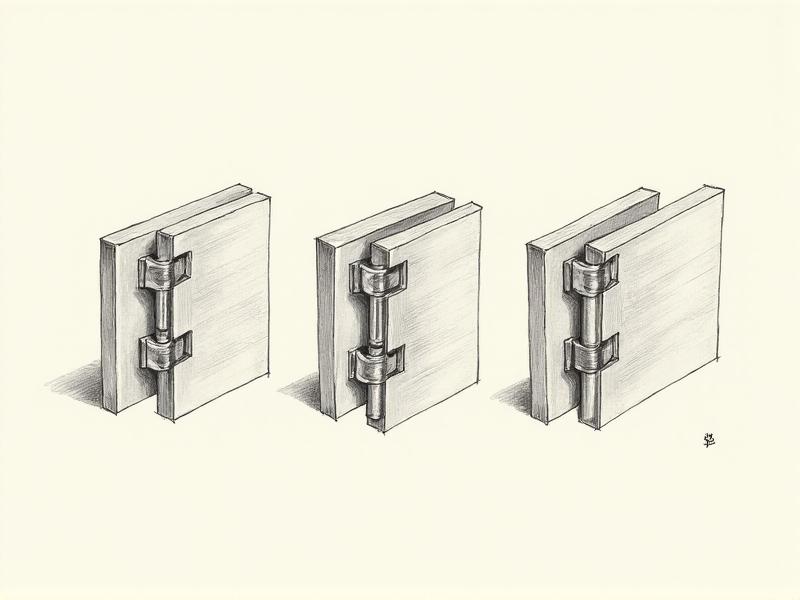
Dust cover hinges are essential components in devices like laptops, toolboxes, and protective cases. They allow smooth movement while shielding internal mechanisms from debris. Common types include barrel hinges, friction hinges, and piano hinges. Barrel hinges, often found in compact electronics, use interlocking cylindrical segments for rotation. Friction hinges rely on tension screws to maintain position, ideal for adjustable laptop screens. Piano hinges, long and sturdy, suit heavy-duty applications like industrial equipment. Knowing your hinge type is critical—repair methods vary depending on design and material.
Diagnosing Common Hinge Problems
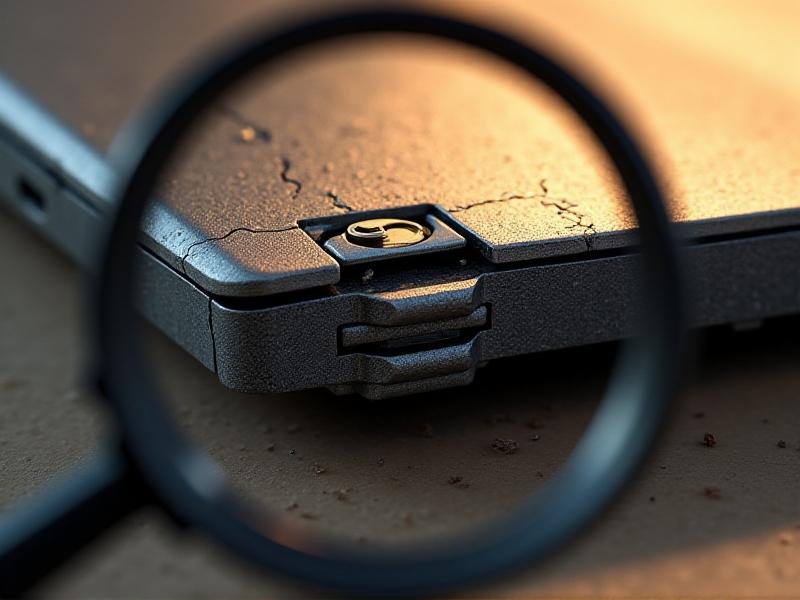
Before grabbing tools, identify the issue. Loose hinges often result from worn screws or stripped threads. Stiff movement may indicate debris buildup or lack of lubrication. Visible cracks or misalignment suggest structural damage. Test the hinge’s range of motion: grinding noises point to internal friction, while sudden detachment signals failed anchor points. For electronics, check if cables or wires are entangled in the hinge—a common oversight. Document symptoms to tailor your repair strategy effectively.
Essential Tools for DIY Hinge Repairs
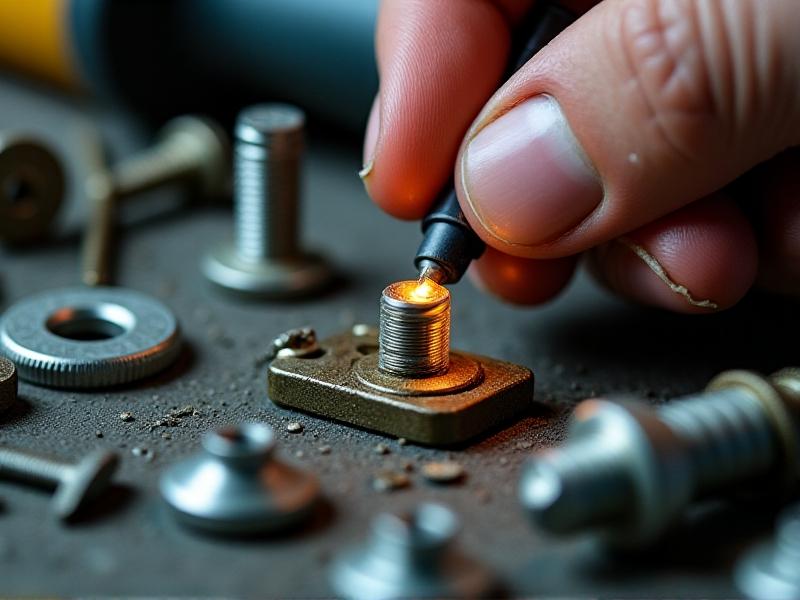
A well-stocked toolkit prevents mid-repair frustrations. Start with precision screwdrivers (Phillips and flathead), needle-nose pliers, and a dental pick for debris removal. Epoxy glue or threadlocker secures loose screws, while a rotary tool helps reshape stripped holes. Lubricants like silicone grease ensure smooth motion. For metal hinges, a small welder or metal adhesive tackles cracks. Always use anti-static wristbands when working on electronics. Organize tools in a magnetic tray to avoid losing tiny components during disassembly.

Step-by-Step Guide to Fixing Loose Hinges
Begin by disassembling the device: remove screws and carefully pry open covers. Inspect the hinge mount—tighten loose screws with threadlocker. For stripped holes, fill them with a mix of baking soda and super glue; once hardened, re-drill the hole. Reassemble the hinge, testing tension incrementally. If the hinge feels unstable, reinforce it with a metal bracket or nylon washer. Apply lubricant sparingly to avoid attracting dust. Document each step with photos to simplify reassembly.
Creative Temporary Fixes Using Household Items
In a pinch, everyday items can stabilize hinges. A paperclip bent into a U-shape can act as a makeshift pivot pin. Rubber bands or zip ties provide tension for loose laptop hinges. For stripped screws, wrap the thread in dental floss or steel wool before reinserting. Adhesive velcro strips offer semi-permanent reinforcement for lightweight covers. Remember: these are temporary! Prolonged use risks further damage, but they’re perfect for buying time until a proper repair.
Preventing Future Hinge Damage
Regular maintenance extends hinge lifespan. Clean hinges monthly with compressed air and a microfiber cloth. Lubricate every 3–6 months using silicone-based products. Avoid over-tightening screws, which strain the material. For frequently used items, invest in reinforced hinges or shock-absorbing pads. Store devices in dry environments to prevent corrosion. Teach users gentle handling—slamming lids or forcing angles beyond the hinge’s limit causes avoidable stress fractures.
When to Replace vs. Repair: Making the Call
Not all hinges can be salvaged. If the hinge body is cracked or corroded, replacement is safer. Persistent stiffness after cleaning and lubrication suggests internal degradation. For high-value devices like premium laptops, OEM parts ensure compatibility. Conversely, simple designs (e.g., toolbox hinges) are cost-effective to repair. Evaluate time and resource investment: a $5 hinge isn’t worth hours of labor. When in doubt, consult a professional—especially for warranties.