Foam Surround Replacement Tools Compared
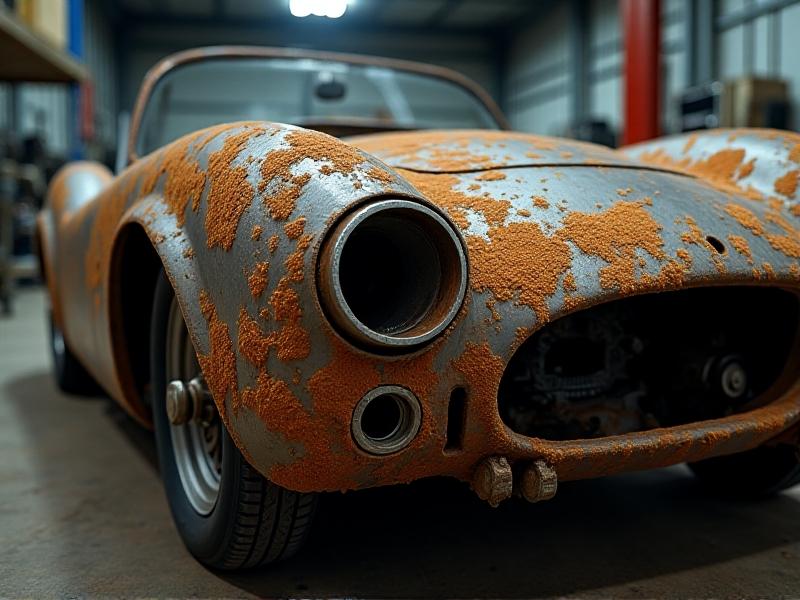
Understanding Foam Surround Degradation: Why Replacement Is Necessary
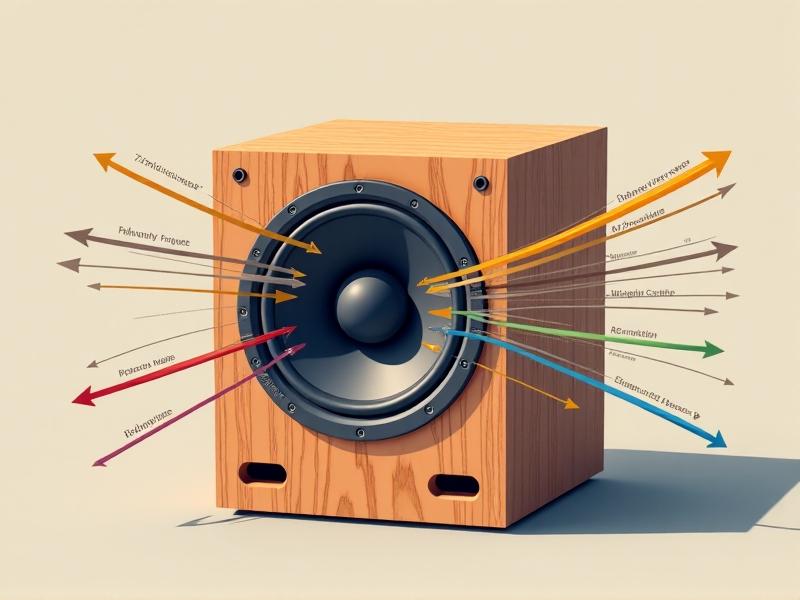
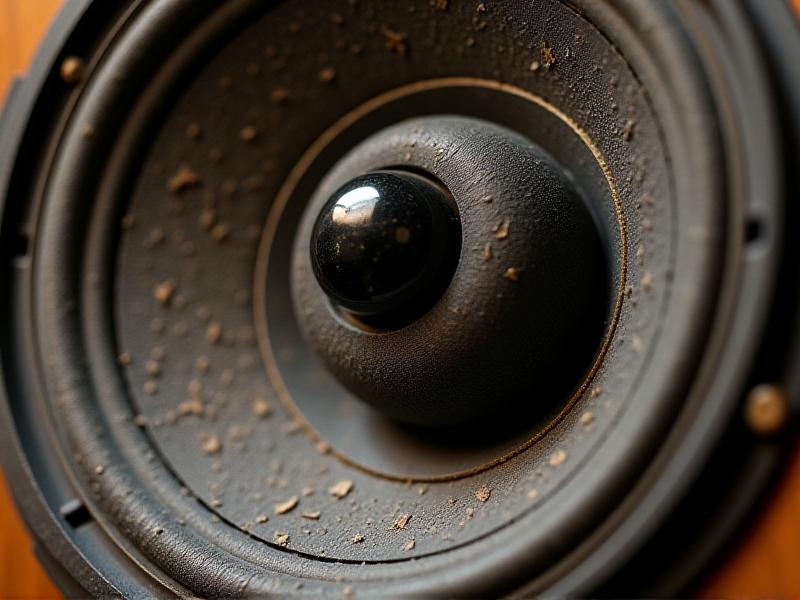
Foam surrounds are critical components in speaker drivers, acting as flexible connectors between the cone and the frame. Over time, exposure to humidity, temperature fluctuations, and UV light causes the foam to dry out, crack, or disintegrate. This degradation leads to distorted sound, reduced bass response, and eventual speaker failure. Recognizing the signs—such as visible tears, brittleness, or rattling noises—is the first step toward determining whether a replacement is needed. Addressing the issue promptly ensures your speakers retain their audio fidelity and longevity.
Essential Tools for Foam Surround Replacement: A Comprehensive List
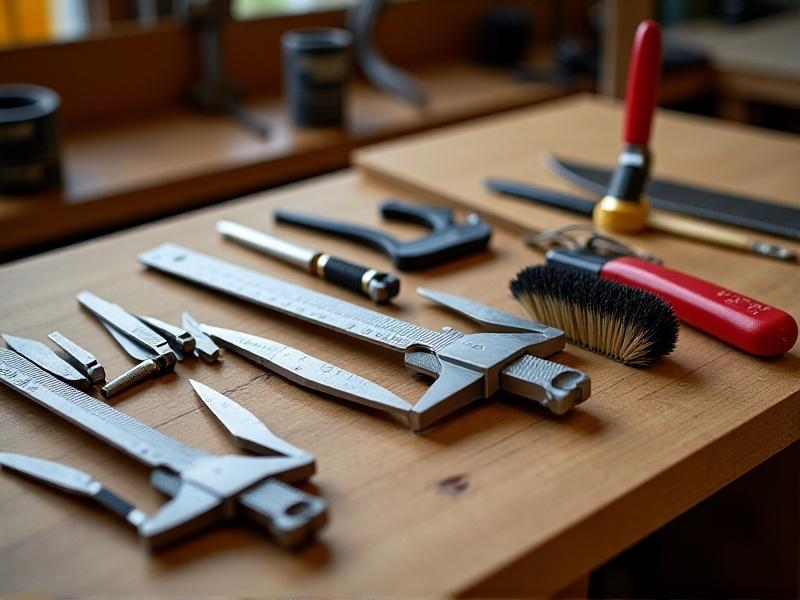
Replacing foam surrounds requires precision tools to ensure a seamless repair. Key items include a precision knife for cutting old foam, soft-bristle brushes for adhesive application, and clamps or weights to secure the surround during drying. Specialty adhesives like rubber cement or acrylic-based glues are vital for flexibility and durability. A cleaning solution, such as isopropyl alcohol, helps remove residue from the cone and frame. Optional but helpful additions include alignment shims and a digital caliper for measuring foam dimensions. Each tool plays a specific role in achieving a professional-grade repair.
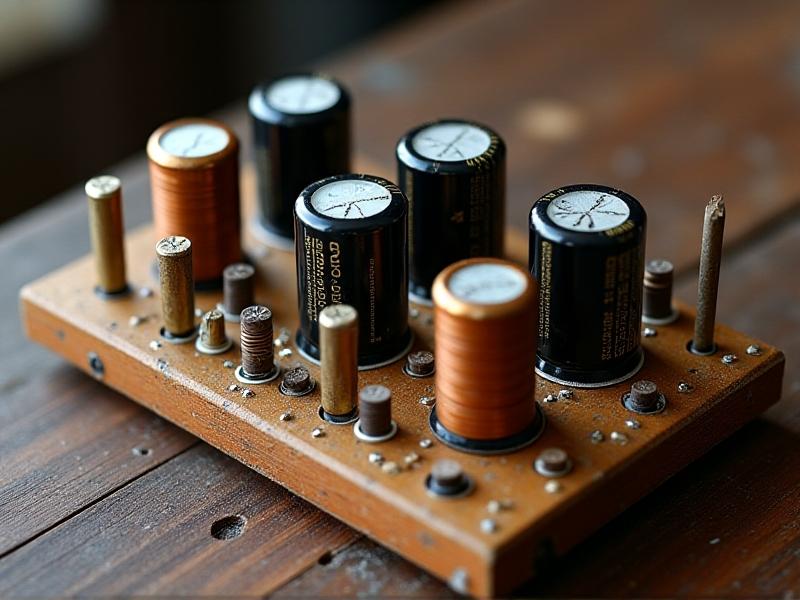
Comparing Adhesives: Which Glue Works Best?
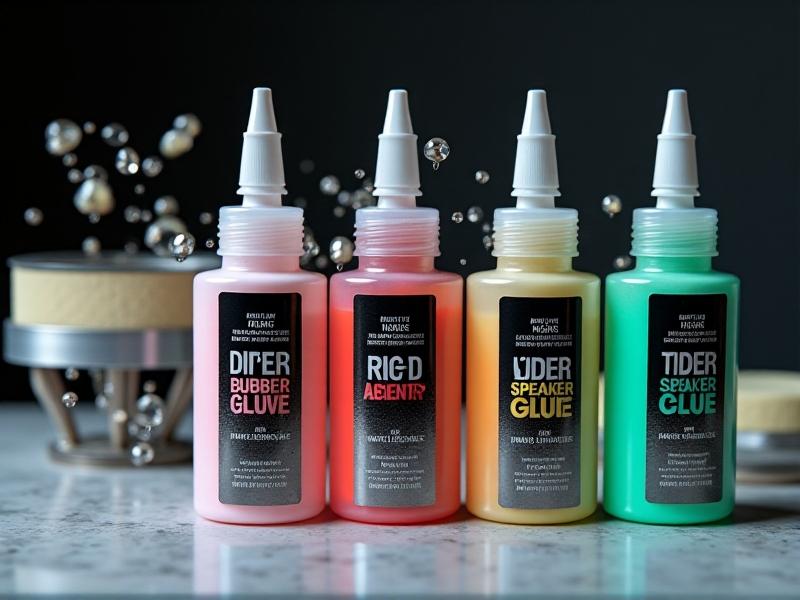
Choosing the right adhesive is crucial for durability and sound quality. Rubber cement, like Aleene’s Tacky Glue, is popular for its flexibility and ease of use but may degrade faster under heat. Specialty speaker adhesives, such as Simply Speakers’ Surround Glue, offer enhanced UV resistance and longevity. Acrylic-based options provide a stronger bond but require precise application to avoid stiffness. For eco-conscious users, water-based adhesives are less toxic but take longer to cure. Testing a small area first helps determine compatibility with your speaker’s materials.
Precision Cutting Tools: Knives, Scissors, and Rotary Blades
Removing old foam demands tools that balance sharpness and control. Precision knives with replaceable blades excel at making clean cuts along the cone’s edge. Curved scissors are ideal for navigating the speaker’s circular shape without damaging the cone. Rotary cutters, often used in crafting, offer smooth, continuous cuts but require a steady hand. For intricate repairs, laser-cut foam templates ensure uniformity. Prioritize ergonomic handles and non-slip grips to maintain accuracy during detailed work.
Alignment Tools: Ensuring Perfect Centering
Misaligned foam surrounds can cause voice coil rub, leading to permanent damage. Alignment shims—plastic or cardboard inserts—keep the cone centered while the adhesive dries. Laser alignment tools project a beam to verify symmetry, though these are pricier and geared toward professionals. A low-cost DIY method involves playing a test tone to detect rubbing before finalizing the repair. Whichever method you choose, patience during this step is key to preserving sound quality.
Foam Repair Kits vs. Individual Tools: Pros and Cons
Pre-packaged kits, like those from Parts Express, provide convenience with pre-cut foam and compatible adhesive. However, they may lack specialized tools for unique speaker models. Assembling your own toolkit allows customization—e.g., opting for a higher-grade adhesive or precision calipers—but requires research. Kits suit beginners, while seasoned restorers often prefer handpicked tools. Evaluate your speaker’s requirements and your skill level before deciding.
Cost-Benefit Analysis: Investing in Quality vs. Budget Options
Budget tools, like generic craft knives, save upfront costs but risk uneven cuts or adhesive failure. Mid-range options, such as Weller precision knives, offer reliability for occasional repairs. High-end tools, like Japanese steel blades or professional alignment jigs, justify their cost for frequent use or rare speaker models. Consider the speaker’s value and your long-term repair needs—the right investment prevents costly mistakes.
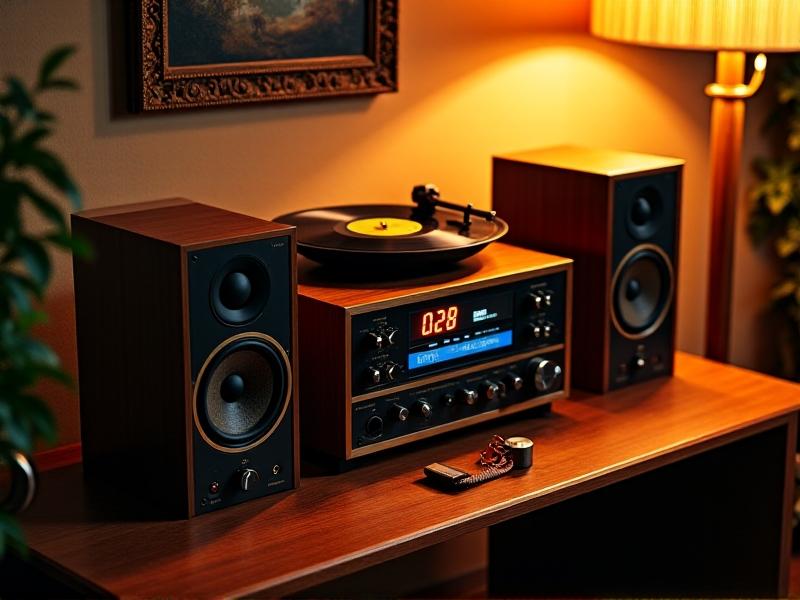
Maintaining Your Repair: Tips for Longevity
After replacement, avoid exposing speakers to extreme humidity or direct sunlight. Periodically inspect the foam for early signs of wear and reapply adhesive at stress points if needed. Use a soft brush to remove dust, which can accelerate degradation. Proper care extends the surround’s lifespan, ensuring your repair remains effective for years.