Head Azimuth Adjustment Without Tools
Understanding Head Azimuth: What It Is and Why It Matters
Head azimuth refers to the horizontal orientation of a device or component relative to a reference point. In mechanical, audio, or optical systems—such as turntables, satellite dishes, or camera lenses—proper azimuth alignment ensures optimal performance. Misalignment can lead to distorted sound, weak signals, or blurred visuals. Traditionally, specialized tools like protractors or laser guides are used, but adjusting azimuth without tools relies on observational precision and an understanding of the system's mechanics.
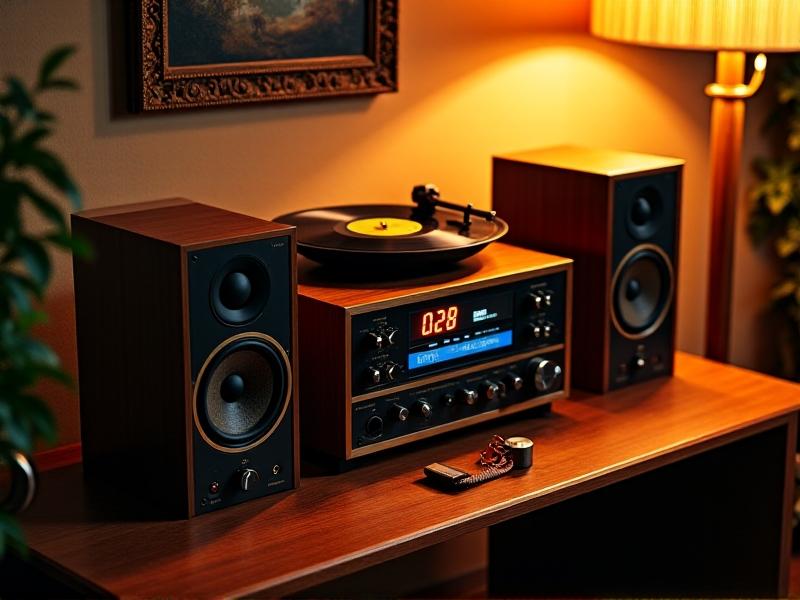
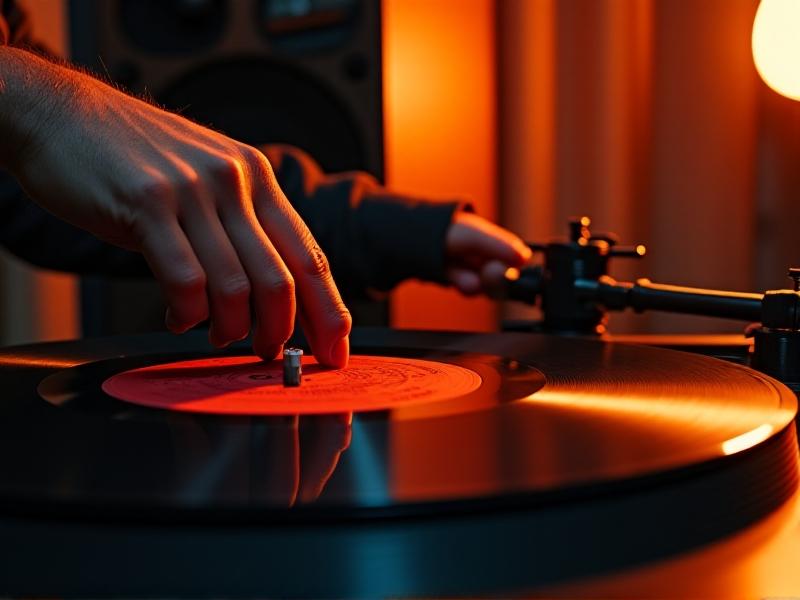
In audio systems, for example, a turntable's tonearm must align parallel to the record grooves to prevent channel imbalance. Without tools, this adjustment hinges on visual and auditory cues. Similarly, aligning a satellite dish manually requires interpreting signal strength through trial and error. Grasping these fundamentals empowers users to troubleshoot issues in resource-limited scenarios, from impromptu repairs to creative DIY setups.
Why Adjust Head Azimuth Without Tools?
Tool-free azimuth adjustment is not just a workaround—it’s a valuable skill for hobbyists, professionals, and emergency situations. Imagine setting up a vinyl record player at a remote location or fine-tuning a satellite dish during a power outage. Tools might be unavailable, but the need for precision remains. Manual methods encourage a deeper understanding of equipment mechanics, fostering problem-solving skills and reducing dependency on gadgets.

Additionally, tool-free techniques minimize costs and downtime. For instance, photographers adjusting a tripod head can use natural horizon lines as guides, avoiding the need for a bubble level. This approach blends practicality with creativity, making it ideal for enthusiasts who enjoy hands-on experimentation. Mastering these methods builds confidence and adaptability, turning potential frustrations into opportunities for learning.
The Physics Behind Manual Azimuth Adjustment
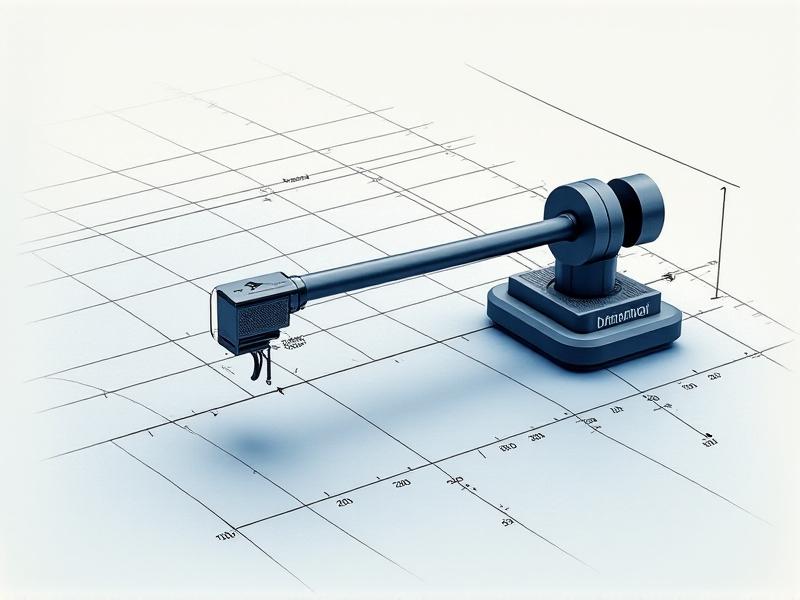
At its core, azimuth adjustment relies on geometry and spatial awareness. The goal is to align a component’s axis perpendicular or parallel to a reference line—often achieved by leveraging symmetry or environmental markers. For example, aligning a turntable tonearm involves ensuring it’s parallel to the record’s grooves. Without a protractor, one can use the platter’s edge or spindle as a visual guide, applying basic trigonometry principles.
Similarly, adjusting a camera lens azimuth without tools might involve aligning the lens barrel with a distant vertical object, like a tree or building edge. This method uses the human eye’s ability to detect parallax error. Understanding how light, angles, and spatial relationships affect performance turns abstract concepts into actionable steps, demystifying the process for non-experts.
Step-by-Step Guide to Tool-Free Azimuth Adjustment
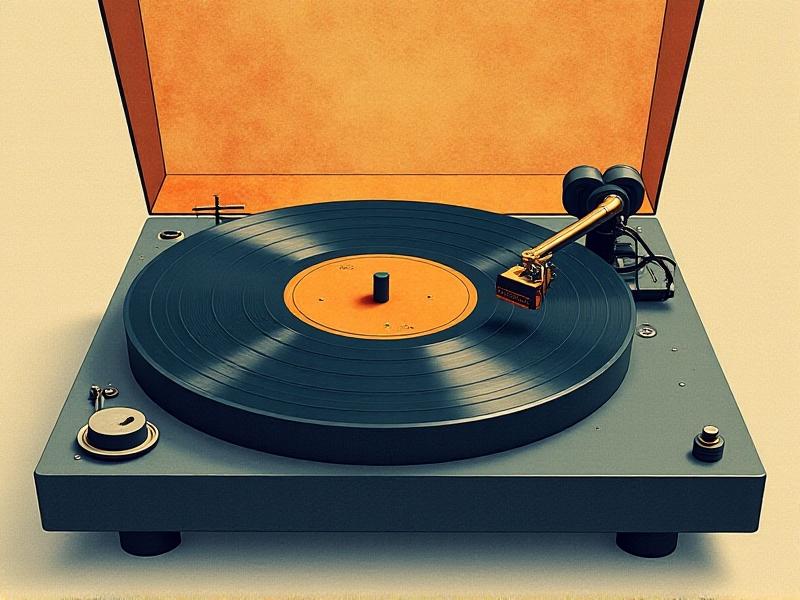
Begin by identifying a reliable reference point. For a turntable, use the platter’s spindle or edge. Position the tonearm so it appears parallel when viewed from above, adjusting until the cartridge aligns with the record grooves. Test-play a record and listen for channel balance—adjust if one side sounds louder. For satellite dishes, slowly rotate the dish while monitoring signal bars on a connected device, stopping at the strongest reading.
Cameras can use the horizon: frame a shot with a distinct horizontal line, like a coastline, and adjust the tripod head until the line remains level across the viewfinder. Repeat the process from multiple angles to confirm consistency. These methods prioritize iterative testing and sensory feedback, transforming guesswork into systematic refinement.
Common Mistakes and How to Avoid Them
Rushing the process is a frequent error. Azimuth adjustments require patience—tiny changes can have significant effects. Avoid overcompensating; make incremental adjustments and test after each. Forgetting to check multiple reference points is another pitfall. A turntable might appear aligned from one angle but misaligned from another, so verify from multiple perspectives.
Ignoring environmental factors also leads to mistakes. Wind, uneven surfaces, or poor lighting can skew perceptions. Stabilize equipment and work in well-lit conditions. Lastly, neglecting post-adjustment testing risks undetected errors. Always validate results through practical use, like playing a record or capturing test photos, to ensure alignment holds under real-world conditions.
Real-World Applications and Examples
In audio engineering, DJs often adjust turntables manually during live sets to maintain sound quality. Similarly, field researchers realign satellite dishes using smartphone signal apps when traditional tools aren’t portable. Photographers in rugged terrain use natural horizons to level tripods, ensuring sharp landscape shots. These examples highlight the versatility of tool-free methods across industries.
Even everyday tech benefits: aligning smart speakers by ear for optimal sound distribution or positioning solar panels using the sun’s trajectory. These applications reinforce that tool-free adjustment isn’t just a backup plan—it’s a smart, accessible way to solve problems creatively, whether at home, in the field, or on stage.
Maintaining Accuracy Post-Adjustment
After achieving proper azimuth, prevent drift by securing adjustment points. For turntables, tighten locking collars gently to avoid shifting the tonearm. For satellite dishes, mark the optimal position with waterproof tape. Regularly check alignment using the same reference points, especially after moving equipment or environmental changes like storms.
Incorporate routine checks into maintenance schedules. For example, test camera tripod levels before each shoot or play a reference vinyl side monthly to monitor turntable performance. Document adjustments to track patterns and preempt issues. This proactive approach ensures long-term accuracy, blending manual skill with mindful upkeep.