Head Demagnetization Frequency Guide
Understanding Head Demagnetization: Basics and Importance

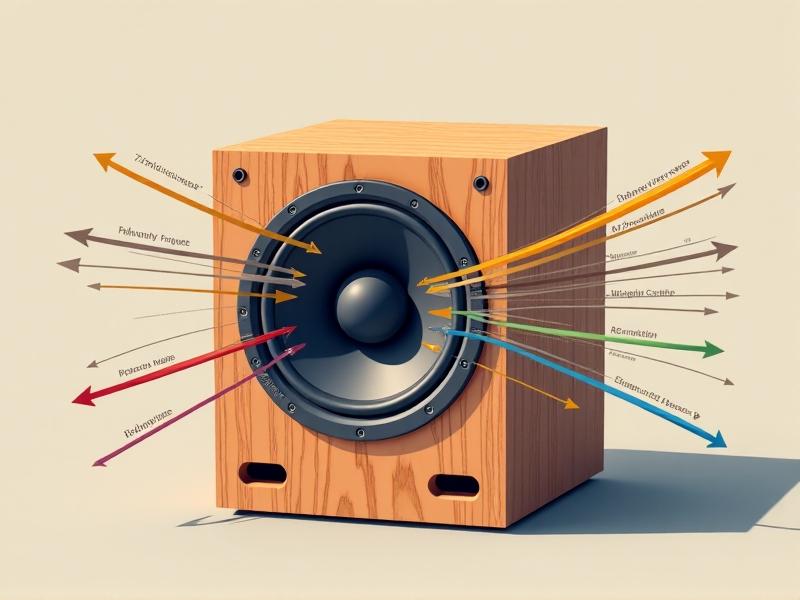
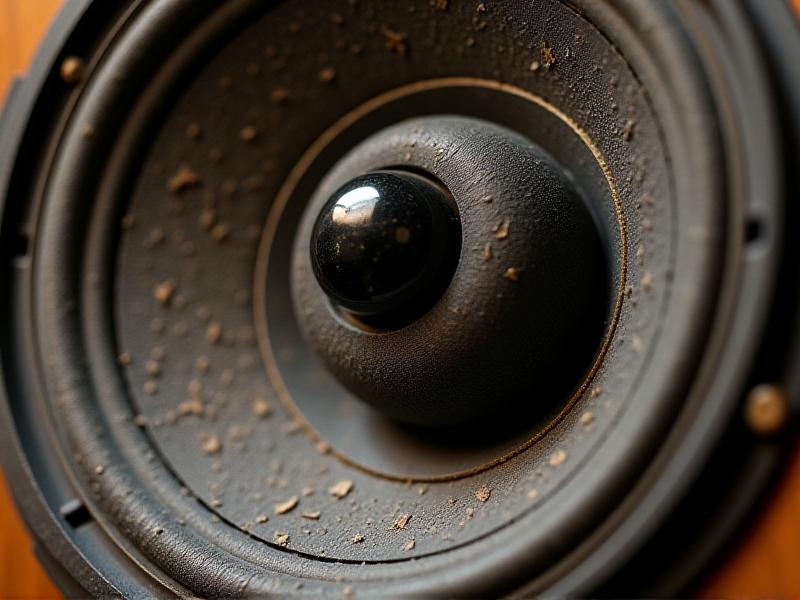
Magnetic heads in analog recording equipment, such as tape decks or reel-to-reel machines, gradually accumulate residual magnetism during use. This buildup distorts audio signals, introduces noise, and degrades high-frequency response. Demagnetization—applying a controlled alternating magnetic field—erases this residual charge, restoring clarity and precision. While digital systems aren’t immune to magnetic interference, analog setups rely heavily on this process to maintain fidelity. Think of it as a "reset" for magnetic components, ensuring the purity of analog soundscapes. Studios and archivists prioritize demagnetization to preserve recordings, prevent artifacts, and extend hardware lifespan.
Tools and Equipment for Effective Demagnetization
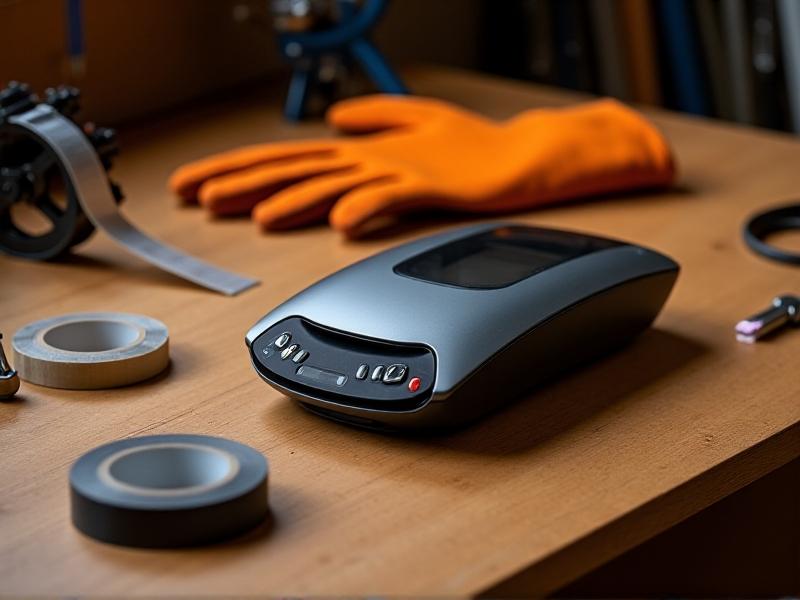
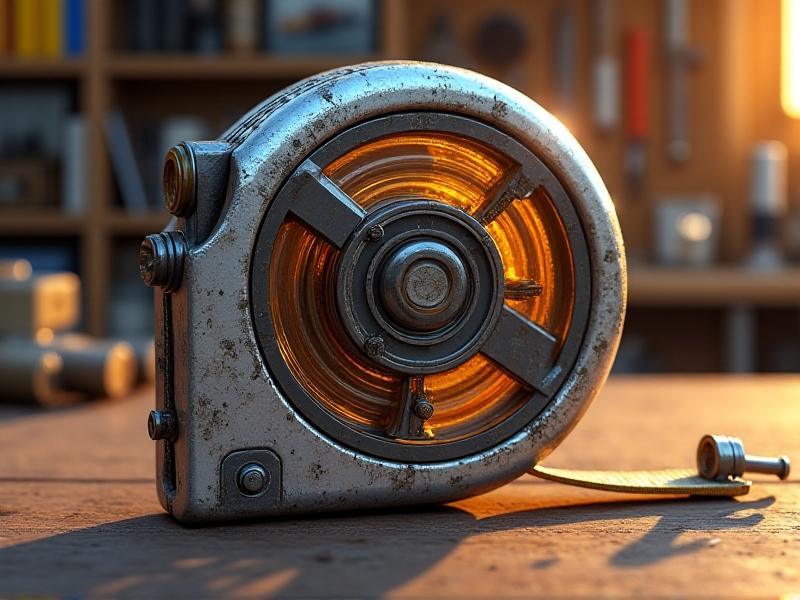
The core tool is a demagnetizer, available as handheld wands or bulk erasers. Handheld units are ideal for tape heads, while bulk erasers tackle larger media. High-quality demagnetizers feature controlled field strength to avoid over-saturation. Auxiliary tools include degaussing tapes for cassette decks and non-magnetic cleaning swabs. Safety gloves and anti-static mats protect sensitive components. When selecting a demagnetizer, consider compatibility: cassette heads require lower power than industrial reel-to-reel systems. Brands like Han-D-Mag and Sony offer specialized solutions tailored to studio and archival needs.
Step-by-Step Guide to Demagnetizing Recording Heads
Power off the equipment and remove media. Activate the demagnetizer at a safe distance, then slowly move it in circular patterns over the head for 30-60 seconds. Gradually withdraw the tool to at least 3 feet before turning it off—this prevents residual magnetism. Repeat monthly for high-use equipment. Avoid abrupt movements, which leave uneven fields. For cassette decks, insert a degaussing tape and follow manufacturer protocols. Always demagnetize in a dust-free environment to prevent particulate interference. Document each session to track frequency and observe performance trends.
Determining the Optimal Demagnetization Frequency

Frequency depends on usage: studios running 8-hour sessions may demagnetize weekly, while home setups benefit from monthly cycles. Humidity and temperature fluctuations accelerate magnetization, necessitating shorter intervals. Listen for high-end loss or increased hiss—these signal overdue demagnetization. Manufacturers like TEAC recommend every 50 hours of use. Create a log to correlate audio quality with timing, adjusting as needed. Archivists handling rare tapes often demagnetize before and after playback to safeguard both media and hardware.
Risks and Consequences of Improper Demagnetization
Overzealous demagnetization can magnetize components inversely, worsening distortion. Cheap tools may emit irregular fields, creating "hotspots" that erode head coatings. Abruptly powering off a demagnetizer near equipment leaves residual charge, mimicking the issue it aims to fix. Physical contact between the tool and head risks scratches. In one case, a studio reported erased master tapes due to a malfunctioning bulk eraser. Always test tools on non-critical equipment first and adhere to voltage guidelines.
Case Studies: Real-World Applications and Outcomes
Berlin’s Analog Haven Studio reported a 15dB noise reduction after monthly demagnetization cycles. A jazz archive in New Orleans recovered previously unusable 1960s reels by implementing pre-playback demagnetization. Conversely, a podcast studio using unregulated demagnetizers saw increased crosstalk, resolved by switching to calibrated tools. These examples underscore the balance between routine care and methodological precision.
Maintaining Equipment Post-Demagnetization: Best Practices
Store demagnetizers in anti-static cases. Wipe heads with isopropyl alcohol post-demagnetization to remove debris. Use silica gel packs in storage areas to control humidity. Periodically check tool calibration with a Gauss meter. Pair demagnetization with azimuth alignment checks for comprehensive maintenance. Label cables and tools to avoid mix-ups during sessions.
Debunking Myths and Answering Common Questions
Myth: Demagnetization weakens heads. Reality: Proper use causes no structural harm. Myth: Digital heads don’t require demagnetization. Reality: While less critical, surrounding analog components (e.g., preamps) still benefit. FAQ: Can I use a DIY magnet? Absolutely not—uncontrolled fields risk irreversible damage. Always invest in purpose-built tools.