RCA Cable Replacement for Classic Models
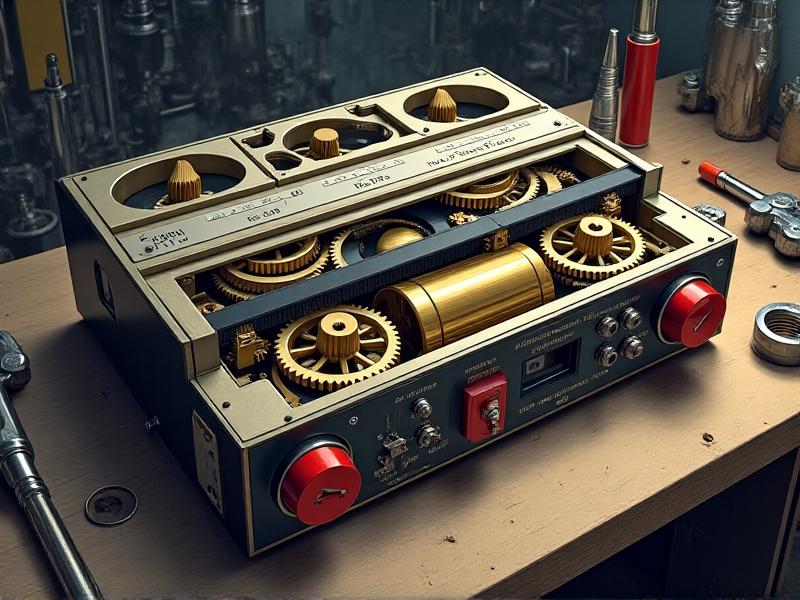
The Legacy of RCA Cables in Classic Audio/Video Systems
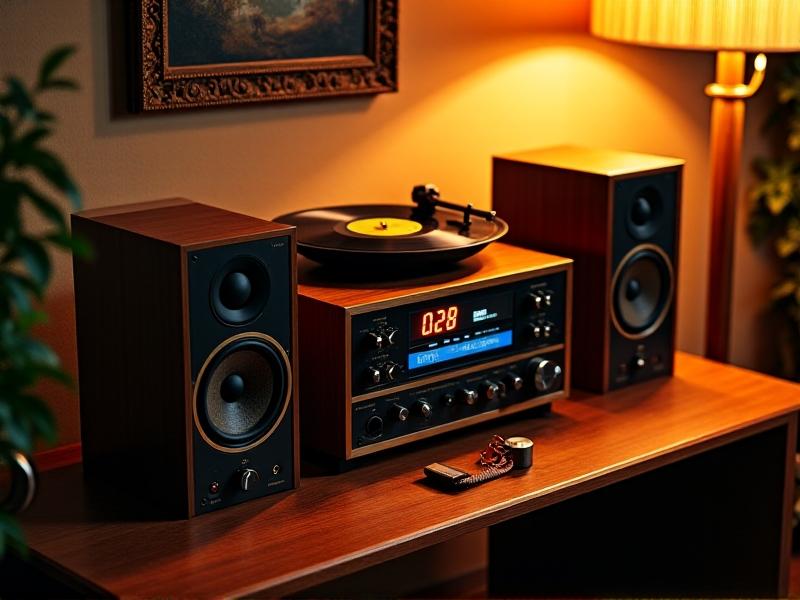
RCA cables, with their distinctive red, white, and yellow connectors, have been the backbone of analog audio and video systems for decades. From turntables and tube amplifiers to early gaming consoles and VCRs, these cables provided a simple yet effective way to transmit signals. Their durability and ease of use made them a staple in households during the 20th century. However, as these classic systems age, the cables often degrade, leading to static, signal loss, or complete failure. Understanding their role in preserving the authenticity of vintage setups is crucial for enthusiasts aiming to maintain or restore these devices.
Identifying Signs of RCA Cable Degradation
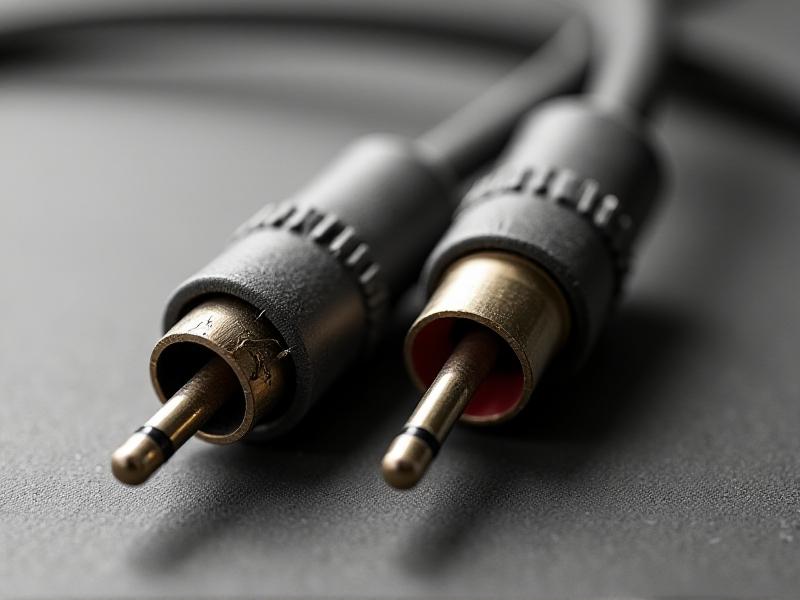
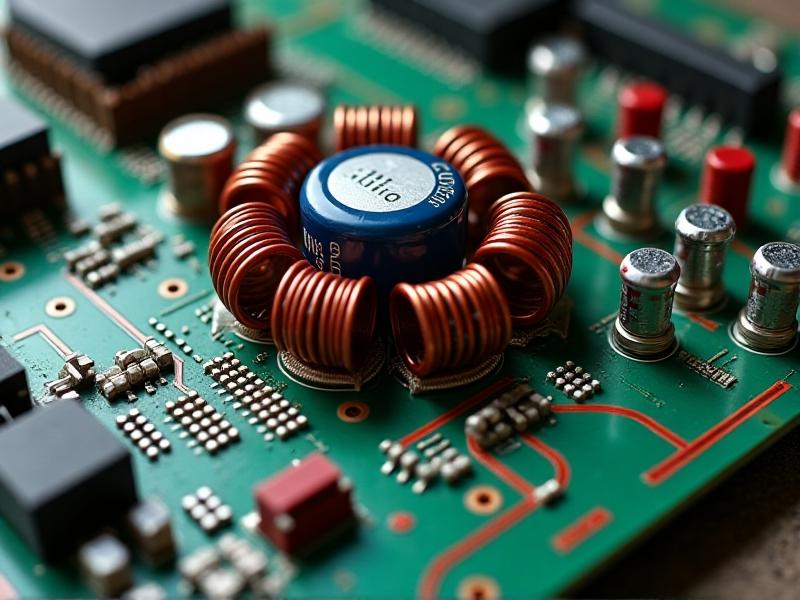
Over time, RCA cables succumb to physical wear, oxidation, and internal wire fatigue. Common symptoms include intermittent audio dropouts, humming noises, or fuzzy video output. Inspecting the cables for cracked insulation, loose connectors, or greenish corrosion on the metal contacts can reveal underlying issues. Testing with a multimeter helps verify continuity in the wires. For collectors, recognizing these signs early prevents irreversible damage to rare equipment. Replacing cables before they fail entirely ensures classic devices remain operational and true to their original performance.
Selecting Authentic vs. Modern Replacement Cables
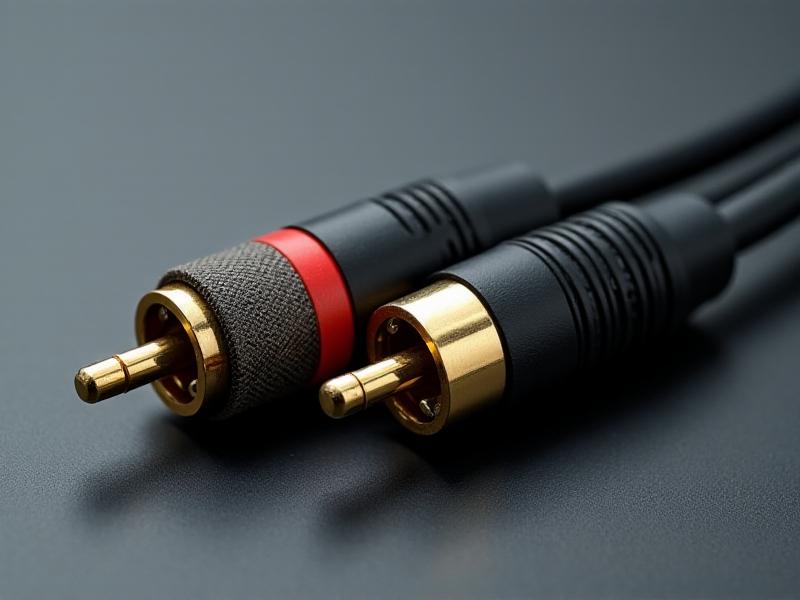
Choosing replacements involves balancing authenticity with performance. Period-accurate cloth-wrapped cables with nickel connectors appeal to purists restoring retro gear. However, modern cables with oxygen-free copper conductors and gold-plated connectors offer superior signal clarity and corrosion resistance. Consider the device’s era: a 1960s tube amplifier might benefit from vintage-style cabling, while a 1980s CD player could handle modern shielded variants. Brands like Mogami or AudioQuest provide high-end options, but budget-friendly alternatives exist for casual repairs.
Step-by-Step Guide to Replacing RCA Cables
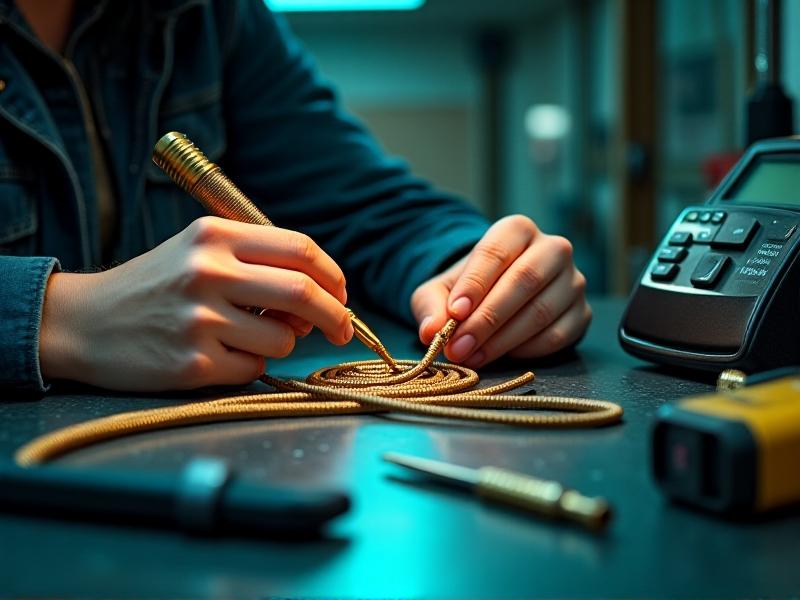
Begin by disconnecting the device and removing the old cables. Use wire strippers to expose fresh conductor ends, then solder them to new connectors, ensuring correct polarity (typically red for right audio, white for left). Heat-shrink tubing secures connections and prevents shorts. For non-solder solutions, screw-on connectors offer simplicity but may sacrifice durability. Test the new cables before reassembly. Patience is key—rushed repairs risk damaging delicate vintage components.
Troubleshooting Post-Replacement Issues
Post-installation glitches like ground loops or channel imbalance often stem from improper shielding or loose connections. Check solder joints for cold spots and ensure cables aren’t routed near power supplies. If hum persists, adding ferrite cores or a ground loop isolator might help. For video systems, color distortion could indicate mismatched impedance—verify cable specs align with the device’s requirements. Systematic testing isolates issues without guesswork.
Preserving Your RCA Cables: Maintenance Tips
Extend cable lifespan by cleaning connectors regularly with isopropyl alcohol and storing devices in low-humidity environments. Avoid tight bends that stress internal wires. Periodically reconnect cables to prevent oxidation on dormant contacts. For rarely used systems, consider anti-tarnish strips in storage areas. Gentle handling preserves both functionality and aesthetic value.
Iconic Devices That Deserve Cable Upgrades
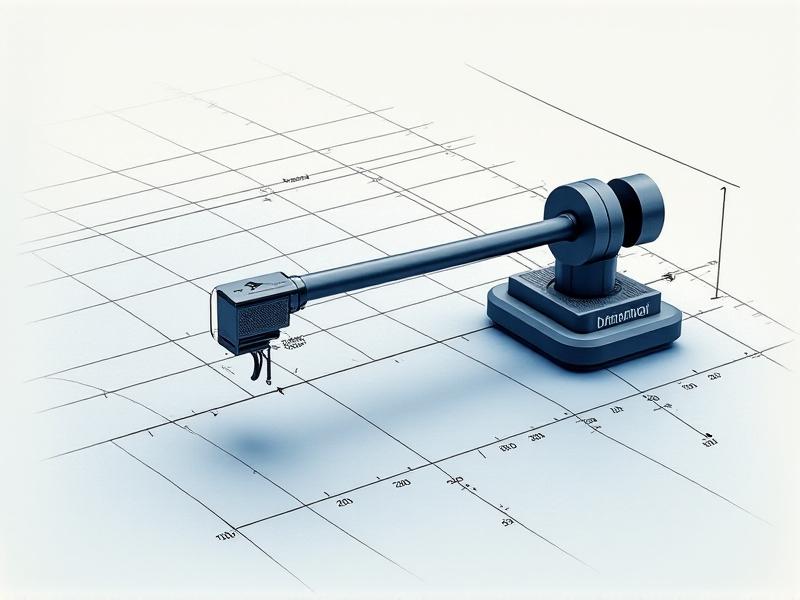
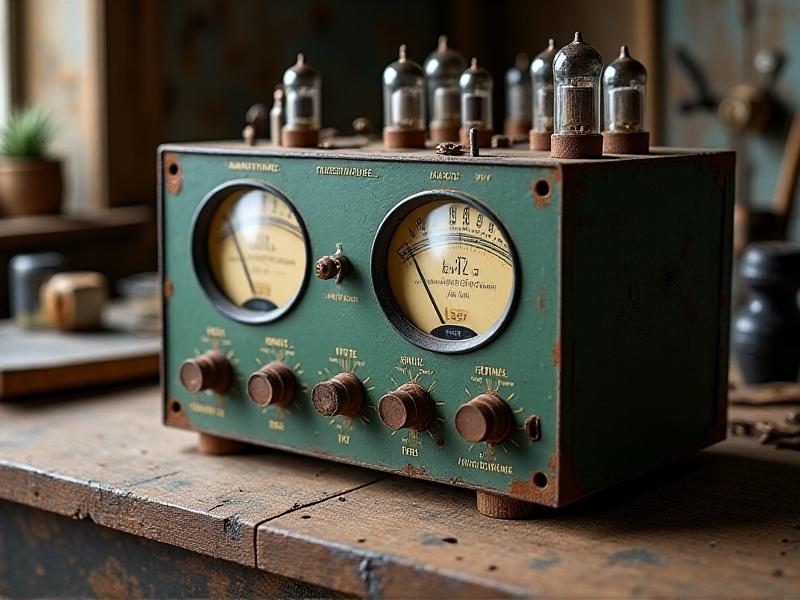
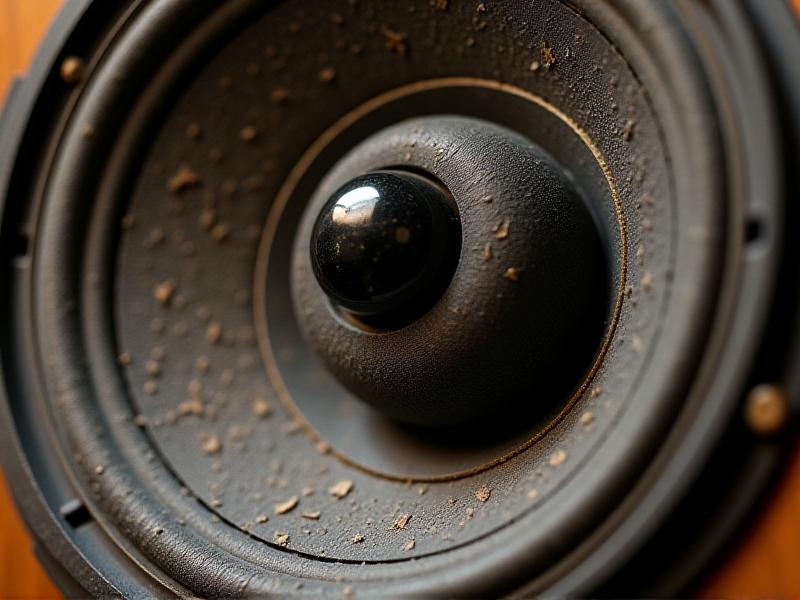
The Technics SL-1200 turntable, Pioneer SX-1250 receiver, and Atari 2600 are quintessential examples where cable upgrades enhance performance. Original cables in these models often lack modern shielding, introducing noise during playback. Upgrading them respects their legacy while adapting to contemporary listening standards.
Expert Insights: When to Upgrade vs. Restore
Experts recommend prioritizing upgrades if original cables compromise signal integrity beyond repair. However, for museum-grade restorations, sourcing period-correct parts is preferable. Hybrid approaches—like using internal modern wiring with vintage connectors—strike a balance. Consult forums or specialists familiar with your device’s history to make informed decisions.
Final Thoughts on Honoring Vintage Audio
Replacing RCA cables in classic models isn’t just about functionality—it’s a tribute to the engineering marvels of the past. By thoughtfully selecting and installing replacements, enthusiasts ensure these devices continue to deliver their signature warmth and character. Whether preserving a family heirloom or curating a retro collection, meticulous care bridges generations of audiophiles.