Suspension System Rebuilding Essentials
Understanding the Suspension System's Role in Vehicle Performance
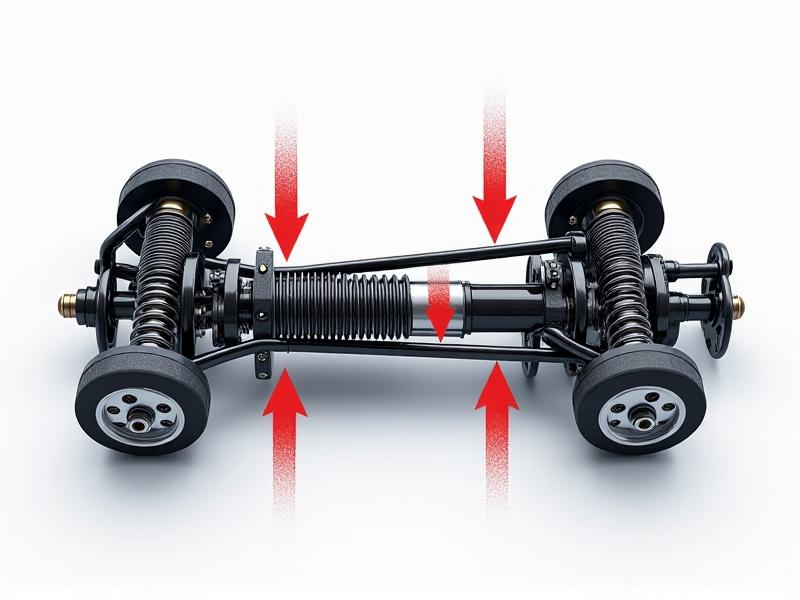
A vehicle's suspension system is a critical component that bridges the gap between the chassis and the wheels. It ensures stability, comfort, and control by absorbing road imperfections and maintaining tire contact. At its core, the system comprises springs, shock absorbers, struts, control arms, bushings, and linkages. Rebuilding this system requires a deep understanding of how these parts interact. For instance, worn shocks can lead to excessive bouncing, while degraded bushings may cause alignment issues and uneven tire wear. Recognizing these symptoms early helps prioritize which components need attention during a rebuild.
Essential Tools and Safety Precautions for Rebuilding
Rebuilding a suspension system demands precision tools and adherence to safety protocols. A hydraulic jack, jack stands, torque wrench, spring compressor, and ball joint separator are indispensable. Personal protective equipment—gloves, safety glasses, and steel-toe boots—should never be overlooked. Before starting, consult the vehicle’s service manual for torque specifications and component diagrams. For example, improperly torqued control arm bolts can lead to catastrophic failure, while misuse of a spring compressor risks injury from sudden energy release. Always work on a level surface and double-check that the vehicle is securely supported before crawling underneath.
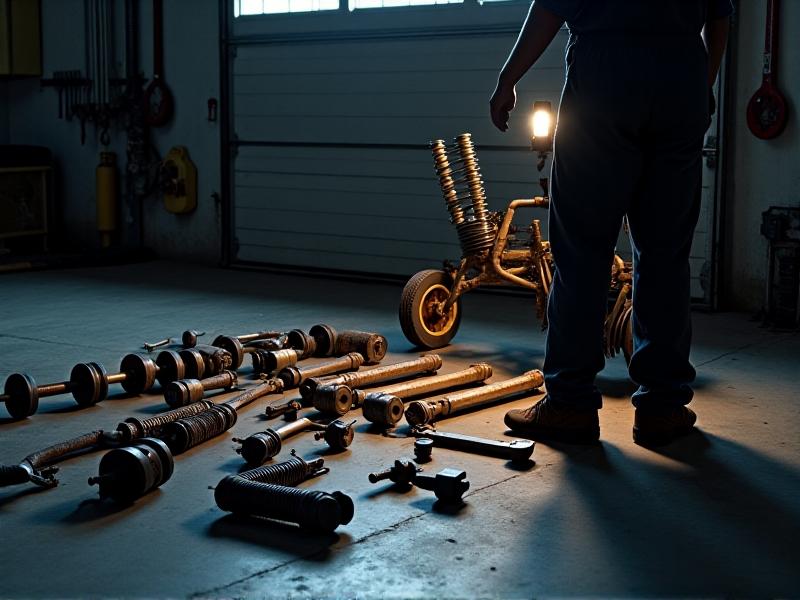
Step-by-Step Disassembly and Component Inspection
Begin by removing wheels and disconnecting sway bar links. Use penetrating oil on rusty bolts to ease disassembly. As you dismantle control arms and strut assemblies, lay parts out in order to simplify reassembly. Inspect each component meticulously: check shock absorbers for fluid leaks, examine bushings for cracks or deformation, and measure spring free length against factory specifications. Pay special attention to ball joints; any play or stiffness indicates replacement is necessary. Document findings with photos or notes to guide part ordering and prioritize upgrades, such as switching to polyurethane bushings for durability.
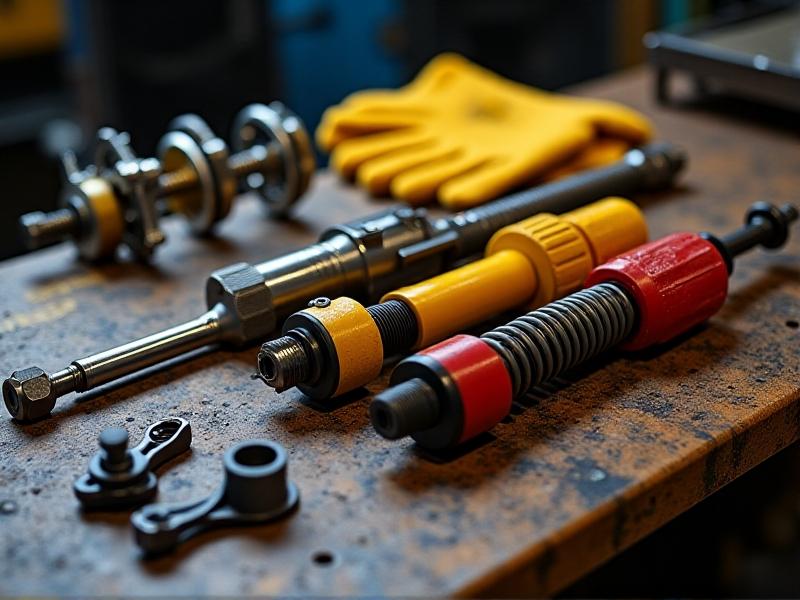
Rebuilding Shocks and Struts: Techniques and Pitfalls
Shock absorbers and struts are the heartbeat of the suspension. When rebuilding, start by securely mounting the strut assembly in a vise. Use a spring compressor to relieve tension before removing the upper mount. Replace the shock cartridge or strut insert, ensuring it matches the vehicle’s weight and driving style—performance models may benefit from adjustable dampers. Reassemble with new bump stops and dust boots, as deteriorated ones accelerate wear. Common mistakes include over-tightening the center nut (which can crush internal valves) or misaligning the spring perch. Always cycle the suspension through its travel manually before final installation to check for binding.
Bushing and Bearing Replacement: Materials and Methods
Bushings isolate vibrations but degrade over time. Removing old rubber bushings often requires a press, heat gun, or specialized extraction tools. When installing replacements, avoid stretching polyurethane bushings during insertion—lubricate with silicone grease instead. For wheel bearings, clean the hub thoroughly before packing new bearings with high-temperature grease. Torque spindle nuts to the manufacturer’s specification using the “while rotating” method to ensure proper preload. Upgrading to sealed bearings or hybrid ceramic options can extend service intervals, particularly for off-road or high-performance applications.
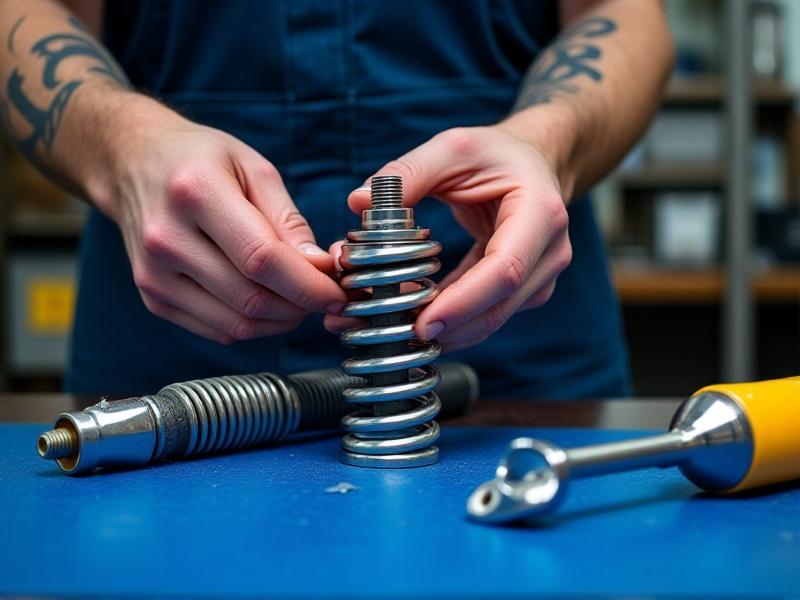
Reassembly Tips and Torque Specification Best Practices
Reassembly is where precision pays off. Start by loosely fitting all components to allow alignment adjustments. Use thread locker on critical fasteners like ball joint studs and strut mounting bolts. When torquing, follow the manufacturer’s sequence—often starting from the center and moving outward. For example, control arm bolts should be tightened with the vehicle at ride height to prevent bushing bind. Invest in a digital torque adapter to verify wrench accuracy, especially when working with aluminum components that require exact values. Keep fasteners organized in labeled containers to avoid mixing grades or sizes.
Post-Rebuild Testing and Alignment Essentials
After reassembly, conduct a short test drive on smooth roads to identify clunks or instability. Listen for unusual noises when braking or cornering, which might indicate loose components. Schedule a professional alignment immediately, as even minor deviations in camber or toe angles can cause rapid tire wear. For enthusiasts, corner weighting ensures optimal balance in performance vehicles. Remember that new suspension parts may settle over the first 500 miles—recheck torque values and alignment after this break-in period to maintain longevity and handling precision.
Maintenance Strategies for Extended Suspension Life
Preserve your rebuild by washing suspension components regularly to remove corrosive road salt. Inspect boots and seals every oil change for early signs of damage. Lubricate pivot points annually with grease rated for extreme pressures. Consider installing protective skid plates if driving in harsh conditions. Track users should perform pre-event checks on bushings and fasteners. Upgrade to stainless steel hardware in coastal regions to combat rust. By pairing quality components with proactive care, a rebuilt suspension can outlast factory installations while delivering superior performance.