Tube Socket Contact Cleaning Solutions
Understanding Tube Sockets and Their Role in Electronics
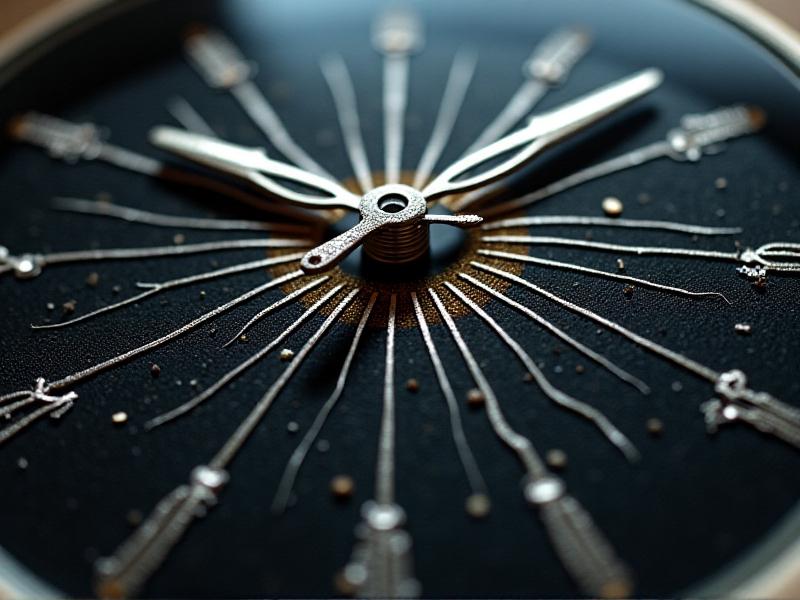
Tube sockets are critical components in amplifiers, radios, and other vintage electronics, acting as intermediaries between vacuum tubes and circuit boards. These sockets consist of metallic contacts that secure tube pins and transmit electrical signals. Over time, dust, oxidation, and debris can accumulate on these contacts, leading to poor conductivity. This degradation often manifests as crackling noises, signal loss, or intermittent operation. Recognizing the importance of clean contacts ensures optimal performance and extends the lifespan of both tubes and equipment. Whether you’re a musician relying on a tube amplifier’s warm tone or a collector restoring antique electronics, maintaining these connections is non-negotiable.
Identifying Symptoms of Dirty or Corroded Contacts

Dirty tube socket contacts rarely fail catastrophically; instead, they degrade gradually. Common signs include static during audio playback, sudden volume drops, or tubes that flicker when touched. In severe cases, oxidation—visible as a greenish or black film on contacts—can completely disrupt signal paths. Devices stored in humid environments are especially prone to corrosion. Musicians might notice their amplifier’s tone losing clarity, while radio enthusiasts could experience inconsistent frequency reception. Addressing these symptoms early prevents costly repairs or tube replacements.
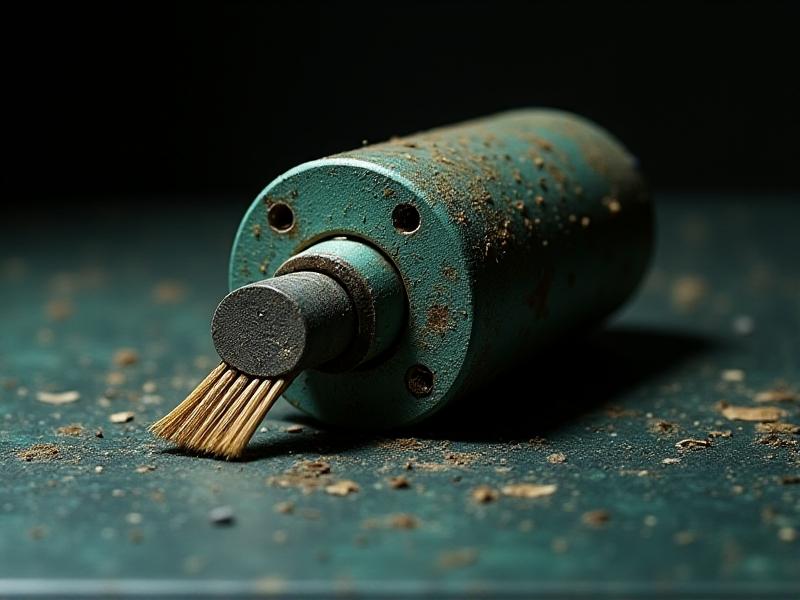
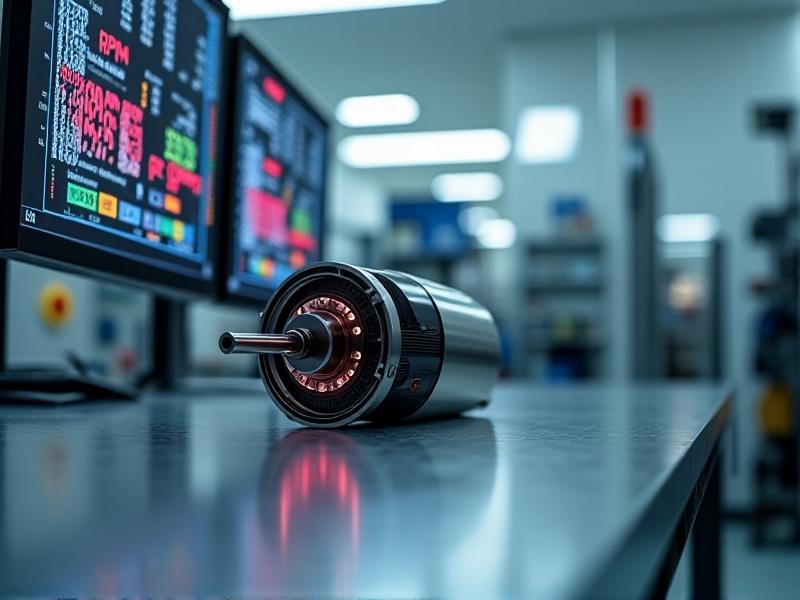
Essential Tools for Safe and Effective Cleaning

Gathering the right tools is half the battle. Start with 99% isopropyl alcohol, a solvent that evaporates quickly without residue. Avoid household cleaners, which may leave conductive films. Soft-bristle brushes (nylon or antistatic) dislodge debris without scratching contacts. Cotton swabs or microfiber cloths apply solvents, while contact burnishing tools gently scrub oxidation. For stubborn corrosion, a contact revitalizer spray can dissolve grime. Always wear anti-static gloves to prevent oil transfer. Pro tip: Label tools to avoid mixing them with general-purpose cleaning supplies.
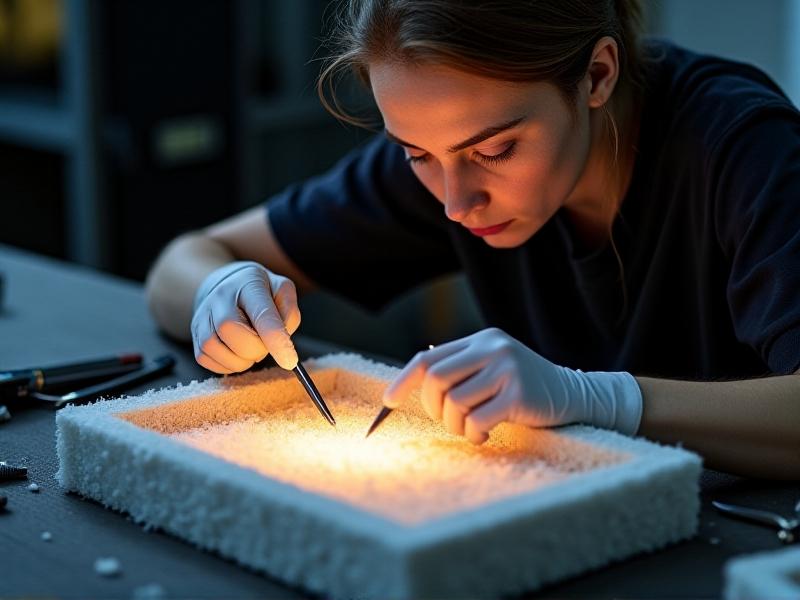
Step-by-Step Guide to Cleaning Tube Sockets

Begin by powering off and unplugging the device. Remove tubes carefully, noting their orientation. Inspect sockets under bright light, identifying debris or discoloration. Dip a cotton swab in alcohol and gently scrub each contact in a circular motion. For tight spaces, use a brush dipped in solvent. Allow sockets to dry completely—patience prevents short circuits. Reinsert tubes, ensuring secure fits. Test the device incrementally; sudden voltage surges can harm newly cleaned contacts. This method balances thoroughness with safety, ideal for DIY enthusiasts.
Alternative Solutions for Stubborn Corrosion
When alcohol isn’t enough, specialized contact cleaners like DeoxIT D5 offer enhanced corrosion removal. These sprays combine solvents with lubricants to protect against future oxidation. For extreme cases, lightly sanding contacts with 600-grit emery cloth restores conductivity—apply minimal pressure to avoid damaging metal plating. Alternatively, a baking soda paste (mixed with water) neutralizes acidic corrosion. Rinse thoroughly and dry. Note: Abrasive methods are last resorts; always prioritize gentler solutions first.
Preventive Maintenance to Prolong Contact Lifespan
Prevention is cheaper than repair. Store devices in low-humidity environments using silica gel packs. Dust covers shield sockets when equipment is idle. Periodically reseat tubes to prevent contact oxidation from stagnation. Applying a thin layer of dielectric grease after cleaning inhibits corrosion without hindering conductivity. Regularly inspect sockets during routine maintenance—catching issues early saves time and resources.
When to Seek Professional Cleaning Services
DIY methods suit minor issues, but extensive damage warrants professional help. If cleaning fails to resolve problems—or if sockets exhibit physical damage like bent pins—consult a technician. Professionals use ultrasonic cleaners and microscopes for precision work, ideal for rare or irreplaceable equipment. Weigh costs against the device’s value and sentimental worth.
Verifying Success: Testing Post-Cleaning Performance
After cleaning, validate results. Use a multimeter to check for consistent resistance across contacts (expect 0–2 ohms). Power on the device and monitor for anomalies. Audiophiles should test across frequencies, listening for distortions. Document performance metrics to track improvements. Successful cleaning restores both function and peace of mind.