Vintage Speaker Cable Compatibility
The Timeless Appeal of Vintage Speaker Cables
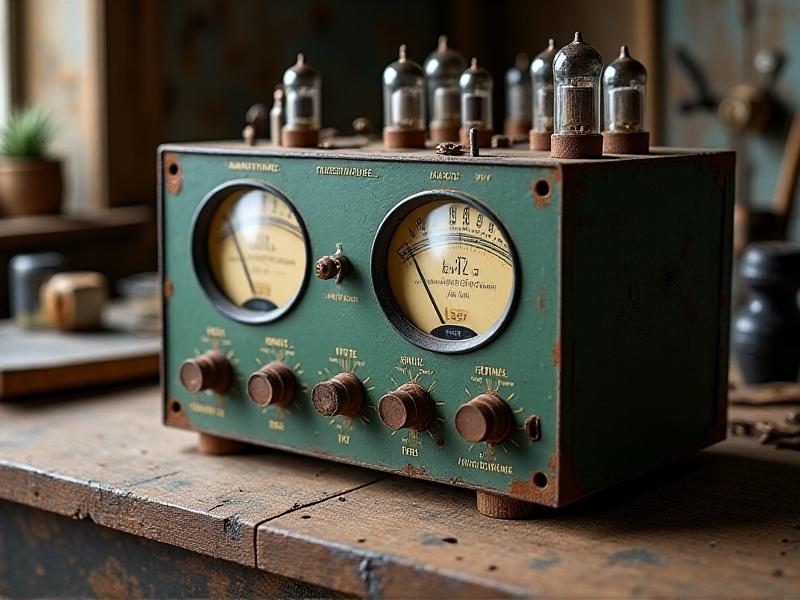
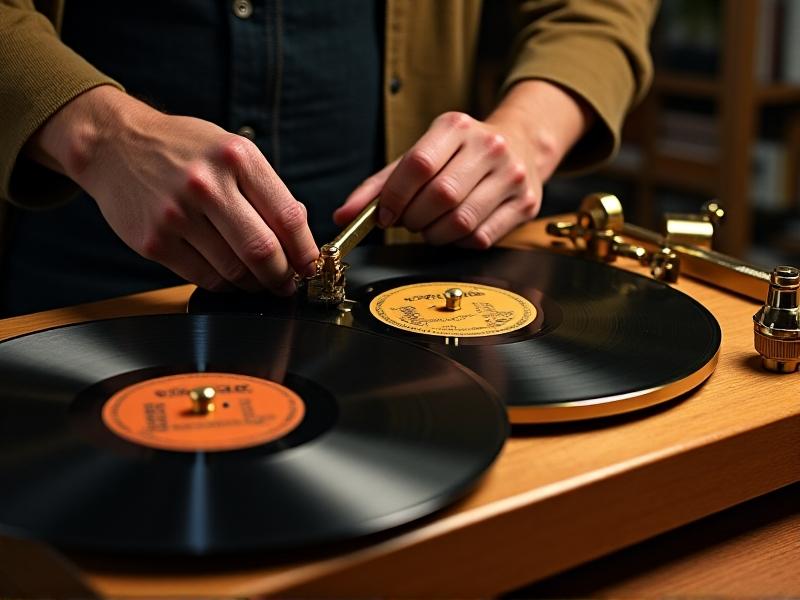
Vintage speaker cables hold a unique allure for audiophiles and retro enthusiasts alike. Beyond their functional role, they evoke nostalgia for an era when audio systems were as much about craftsmanship as performance. Many users swear by the "warmer" sound profile of older cables, attributing it to the materials and manufacturing techniques of decades past. Collectors often seek out specific brands or designs tied to iconic audio systems, turning cables into artifacts of technological history. This emotional connection, paired with a growing interest in vintage aesthetics, keeps these cables in demand despite advances in modern audio technology.
Decoding Vintage Cable Materials and Construction
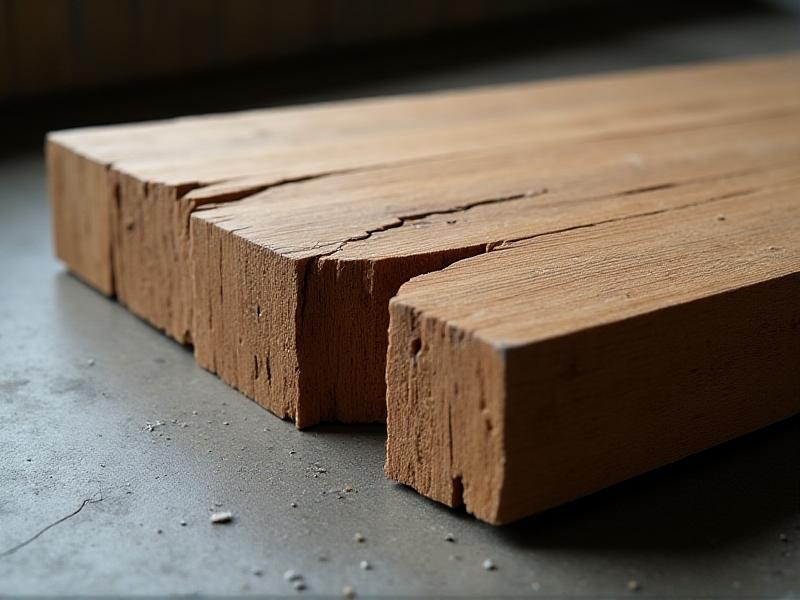
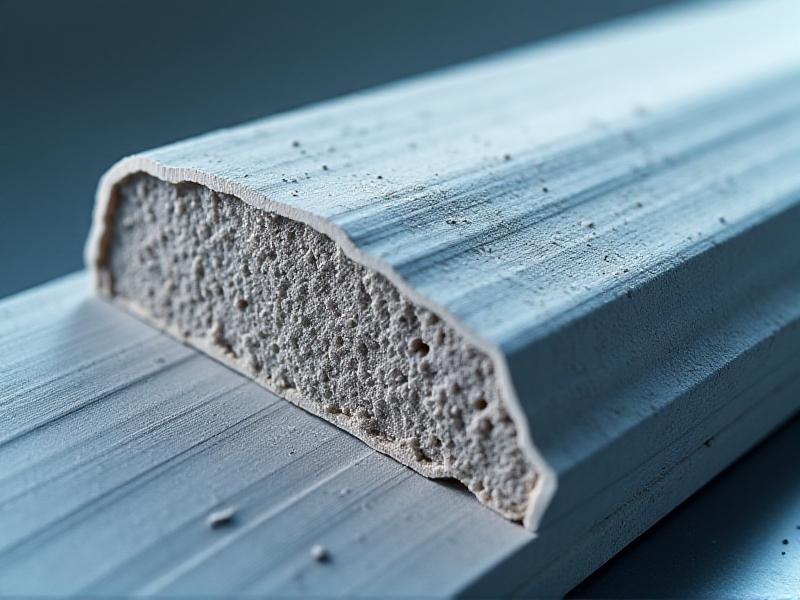
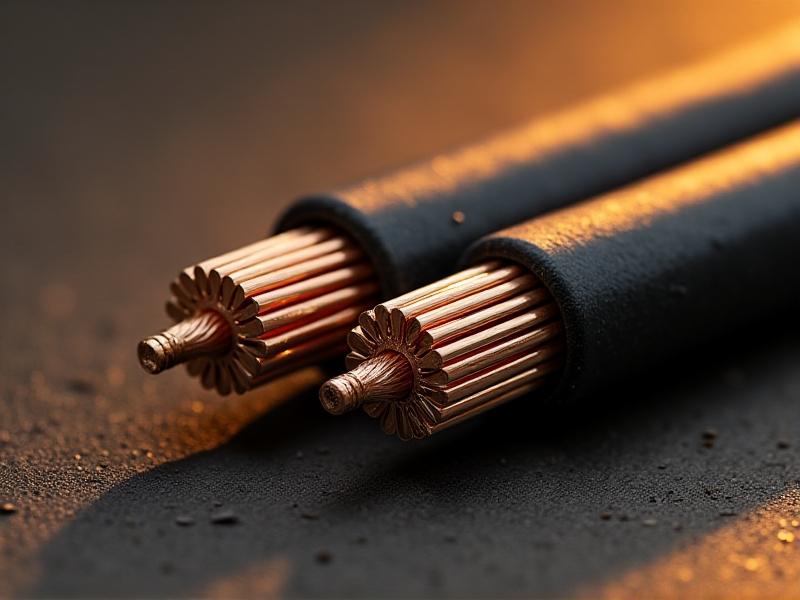
Mid-century speaker cables often used pure copper conductors, sometimes with higher oxygen content than today’s oxygen-free copper (OFC) standards. Insulation materials varied widely—rubber in early models, PVC in the 1970s, and cloth wrapping for high-end brands. These choices impact flexibility and durability: rubber becomes brittle over time, while cloth-wrapped cables may fray but remain sonically transparent. The absence of modern shielding technologies means vintage cables are more susceptible to interference, but some argue this contributes to their characteristic "open" sound. Understanding these material nuances is crucial when assessing compatibility with modern equipment.
Impedance and Gauge: Hidden Compatibility Challenges
Vintage cables often feature thinner gauges (18-22 AWG) designed for low-wattage tube amplifiers and high-impedance speakers. Modern systems with 4-ohm speakers and 100W+ amplifiers demand thicker 12-16 AWG cables to minimize resistance and power loss. Using undersized vintage cables can lead to attenuated highs and distorted bass. To test compatibility, calculate voltage drop using the formula Voltage Drop = 2 × Length (ft) × Current × Resistance per 1000ft / 1000 . If the drop exceeds 5% of the amplifier’s output, consider pairing vintage cables with an impedance-matching transformer or reserving them for low-power secondary systems.
Connector Evolution: Bridging Old and New Terminals
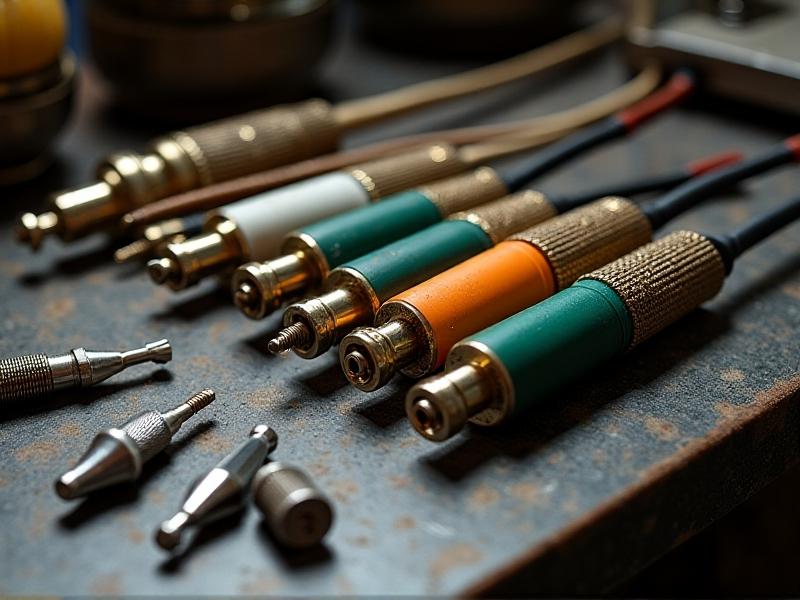
Pre-1980s systems favored solder-on spade lugs or bare wire connections, while modern binding posts accommodate banana plugs. Adapters can bridge this gap—vintage spade to banana plug converters are widely available—but each junction introduces potential signal degradation. For purists, carefully re-terminating cables with period-correct connectors preserves authenticity. Notably, some 1960s European cables used proprietary DIN connectors; these may require custom adapters. Always check for oxidation on metal surfaces—a common issue with vintage connectors that significantly impacts conductivity.
Integrating Vintage Cables in Modern Systems
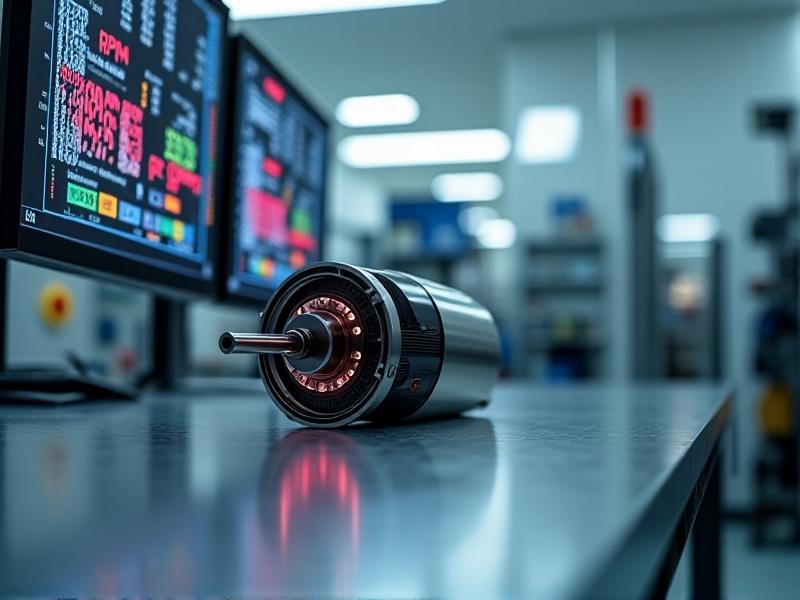
Pairing old cables with new equipment requires strategic planning. Use vintage runs for tweeters or midrange drivers where power demands are lower, reserving modern cables for subwoofers. Bi-wiring setups allow mixing eras—vintage cables on highs, thick modern cables on lows. Be mindful of capacitance: older cables’ simple geometries (parallel conductors) average 30-50 pF/ft, while modern twisted pairs might hit 15 pF/ft. High-capacitance cables can interact negatively with solid-state amps, causing high-frequency roll-off. A network analyzer helps identify problematic interactions before permanent installation.
Troubleshooting Vintage Cable Issues
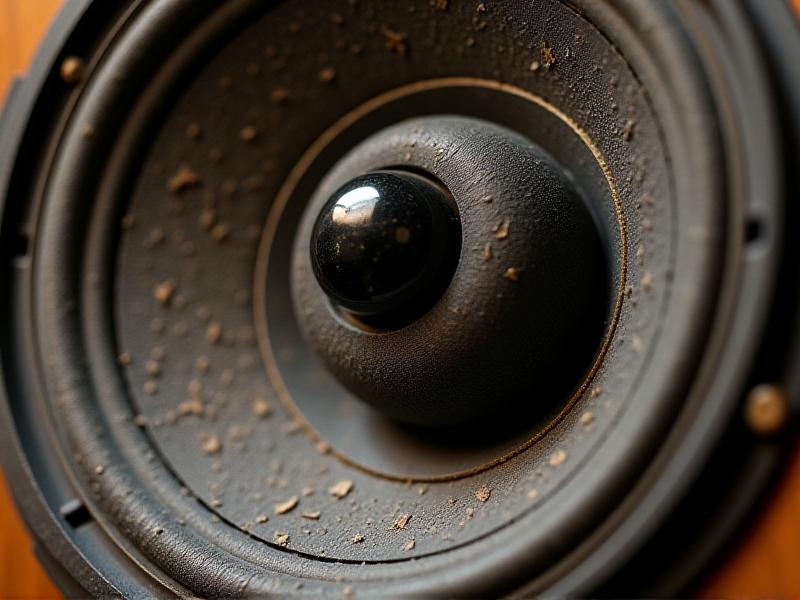
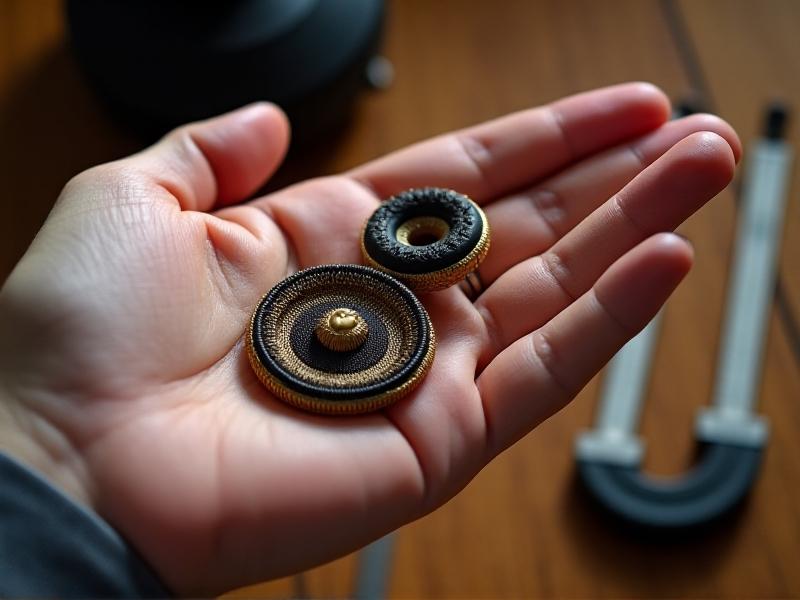
Common problems include intermittent sound (oxidized connectors), hum (ground loops from unshielded runs), and channel imbalance (uneven aging). Start diagnostics with a multimeter—check for continuity and resistance deviations over 10% from specs. DIY solutions: soak cloth-wrapped cables in beeswax to reduce microphonics, or apply non-conductive lubricant to stiff rubber insulation. For setups picking up AM radio interference—a frequent issue with unshielded vintage cables—add ferrite chokes every 3-4 feet or reroute cables away from power sources.
Preservation Techniques for Aging Cables
Store vintage cables loosely coiled (never kinked) in climate-controlled spaces—excessive heat dries out insulation, while humidity accelerates metal oxidation. For cloth-wrapped cables, vacuum gently with a brush attachment to remove dust without damaging fibers. Apply Renaissance Wax to exposed metal parts to inhibit tarnishing. When cleaning contacts, avoid abrasive tools; instead, use cotton swabs dipped in 90% isopropyl alcohol. For rubber-insulated cables showing surface cracking, lightly massage with a 1:1 mix of silicone grease and mineral oil to restore flexibility.
When to Upgrade: Balancing Nostalgia and Performance
While sentimentality has value, recognize objective limits. Cables with >20% strand breakage or insulation cracks exposing conductors should be retired. Performance benchmarks: resistance exceeding 0.1Ω per foot, or capacitance over 80 pF/ft in high-frequency applications. Consider partial upgrades—install modern cables in walls but use vintage runs for visible components. Some specialists offer "hybrid replication," wrapping modern conductors in period-accurate cloth sheathing. Ultimately, let measurements guide decisions: if your vintage cables introduce >0.5dB frequency response errors compared to modern benchmarks, it’s time to compromise.