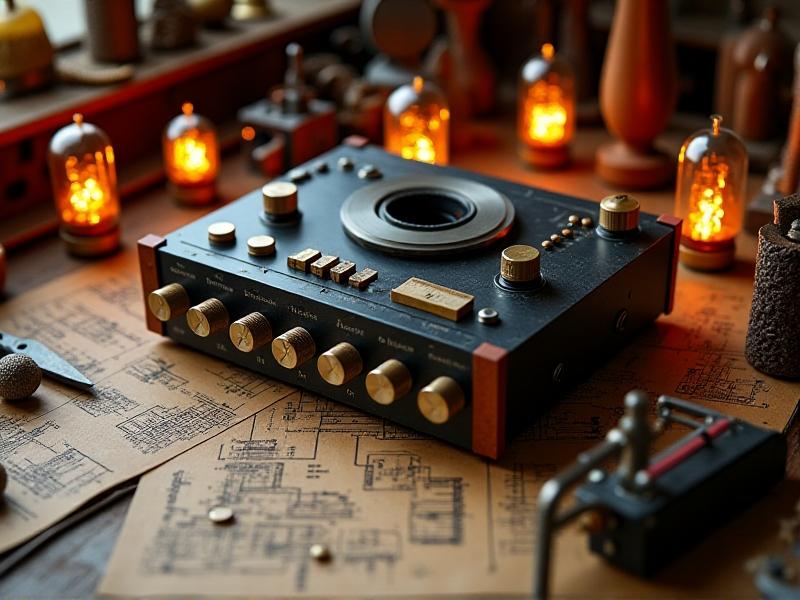
Vintage Tonearm Counterweight Restoration
The Importance of Counterweights in Vintage Turntables
Vintage turntables are revered for their mechanical precision and analog warmth, but their performance hinges on components often overlooked—like the tonearm counterweight. This small yet critical part balances the tonearm, ensuring the stylus tracks grooves with optimal pressure. Too much force damages records; too little causes distortion. Restoring a counterweight isn’t just about preserving aesthetics—it’s about reviving the turntable’s soul. Collectors and audiophiles alike seek original counterweights to maintain authenticity, as modern replacements can alter sound characteristics. Understanding its role is the first step in appreciating why restoration matters.

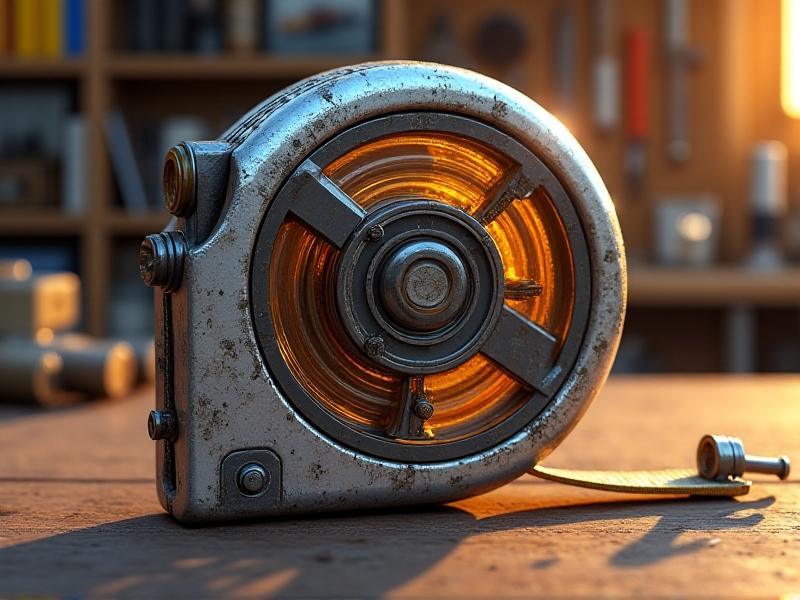
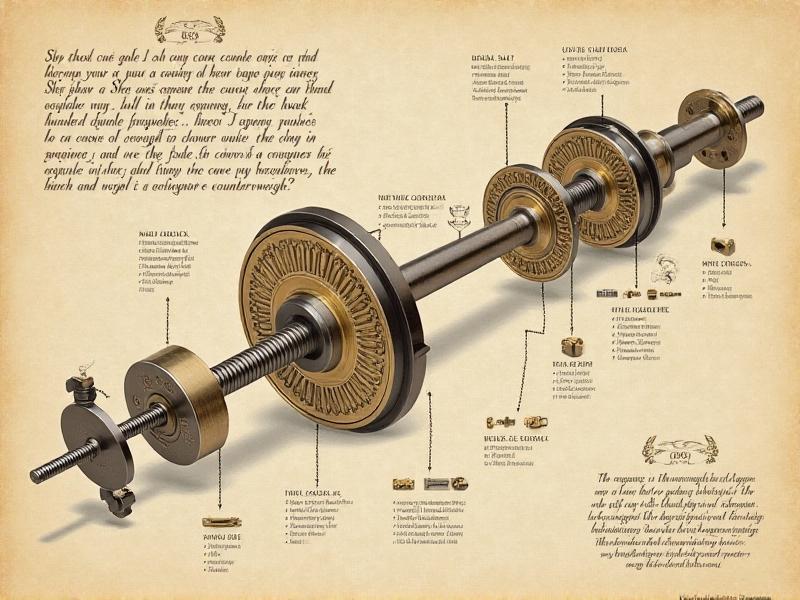
Anatomy of a Vintage Tonearm Counterweight
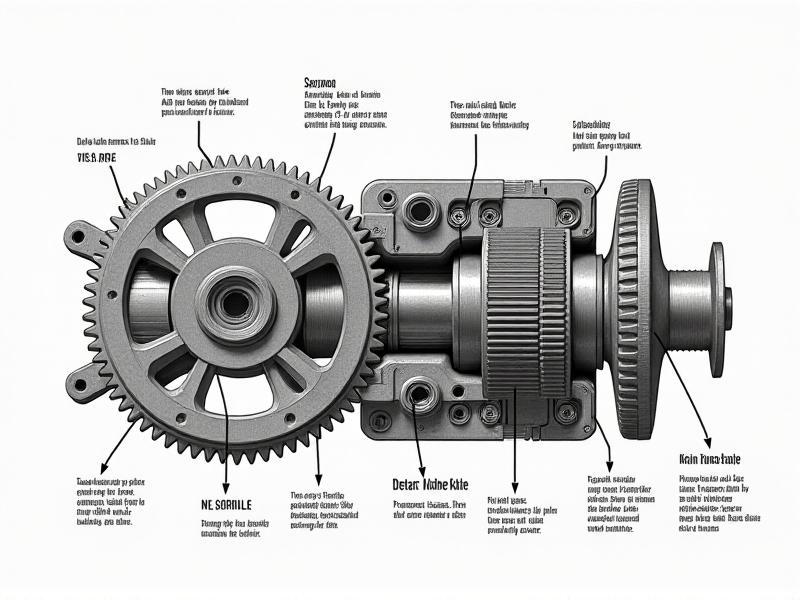
A counterweight’s design varies by turntable model, but most comprise a weighted cylinder, threaded spindle, and calibration markings. Materials like brass, steel, or tungsten were common, chosen for density and resistance to resonance. Older models often feature manual calibration rings, requiring precise adjustments to set tracking force. Disassembling one reveals inner components like set screws or damping materials, which may degrade over time. Understanding this anatomy helps identify wear points, such as stripped threads or oxidized metals, that demand attention during restoration.
Tools and Materials for Restoration
Restoration requires specialized tools: microfiber cloths for cleaning, precision screwdrivers, ultrasonic cleaners for deep degreasing, and digital calipers to measure weight dimensions. Non-abrasive metal polishes rejuvenate tarnished surfaces without damaging engravings. For corroded parts, a diluted vinegar solution or specialized rust remover may be necessary. Always use anti-static gloves to prevent oil transfer. Sourcing period-accurate replacement parts, like OEM set screws or damping rings, ensures authenticity. A magnifying lamp aids in inspecting fine details critical to reassembly.
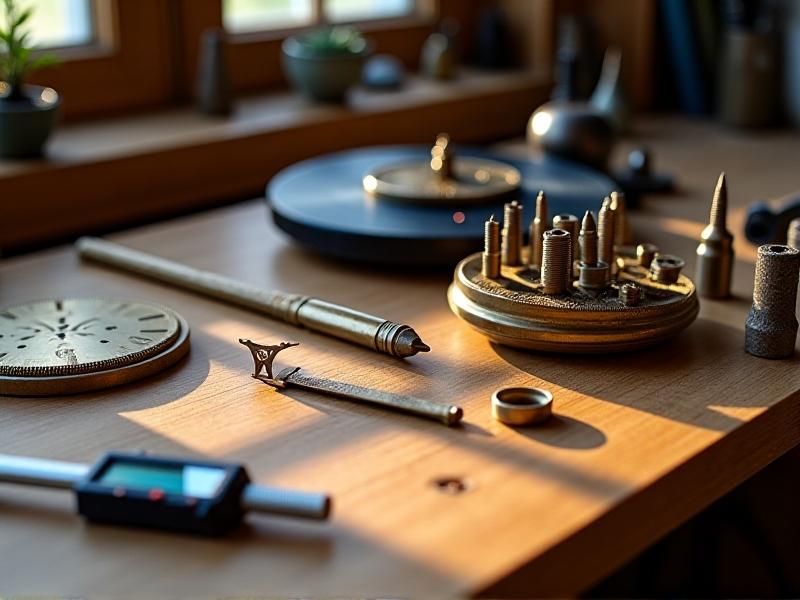
Safety Precautions and Workspace Setup
Working with delicate components demands caution. Wear nitrile gloves to avoid skin contact with cleaning chemicals and static discharge. Ensure adequate ventilation when using solvents. Organize parts in labeled containers to prevent loss—a single missing screw can derail a project. Use a non-slip mat to stabilize the tonearm during disassembly. Lighting is crucial: a combination of warm task lighting and natural light reduces eye strain while revealing subtle flaws. Keep magnetic tools away to prevent accidental magnetization of components.

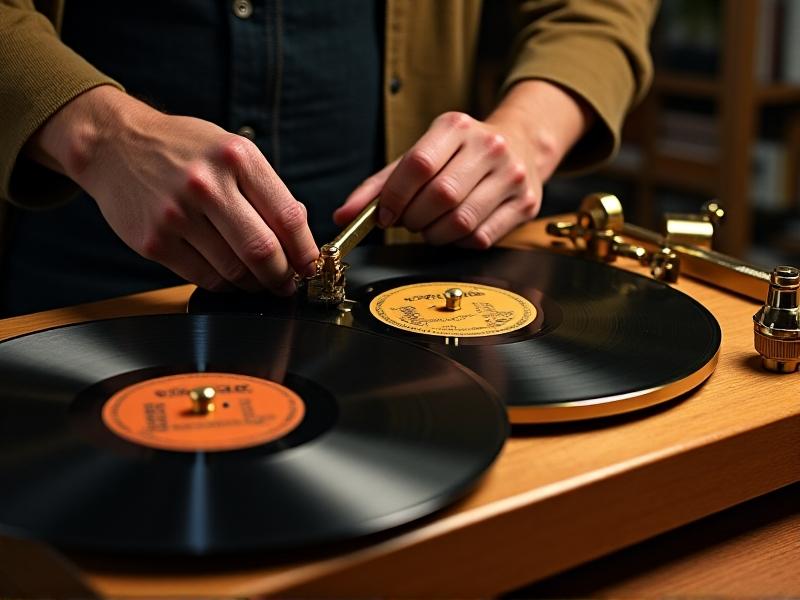
Step-by-Step Disassembly Process
Begin by documenting the counterweight’s original position with photos. Loosen set screws carefully—using improper force can strip threads. If parts resist, apply a drop of penetrating oil and wait 10 minutes. Remove the weight from the spindle, noting orientation for reassembly. Internal components, like damping washers, may be tucked beneath the calibration ring; use tweezers to extract them. Keep screws and rings separate in magnetic trays. Avoid touching polished surfaces directly to prevent fingerprints, which can etch into metal over time.
Addressing Corrosion and Oxidation
Corrosion often appears as greenish patina on brass or white oxidation on aluminum. For mild cases, a paste of baking soda and water applied with a cotton swab gently scrubs away buildup. Stubborn corrosion may require ultrasonic cleaning. Avoid abrasive pads that scratch surfaces. After cleaning, polish with a wax-based metal protector to inhibit future oxidation. Check calibration markings post-cleaning—some inks degrade over time. If engravings are illegible, consult service manuals to re-mark them using a fine-tip enamel pen.
Calibration and Balancing Techniques
Balancing requires a stylus force gauge and patience. Set the tonearm to float horizontally before attaching the counterweight. Adjust the weight until the gauge reads the manufacturer’s specified tracking force—typically 1.5–2.5 grams. Test across multiple records to ensure consistency. Anti-skate settings often correlate with counterweight adjustments; consult your turntable’s manual to synchronize these. Analog enthusiasts swear by test records with blank grooves to fine-tune responsiveness. Document each adjustment to track changes and revert if necessary.
Replacing Worn or Missing Components
Finding original parts can be challenging. eBay and niche forums like Audiokarma are treasure troves for OEM spares. If unavailable, consider 3D-printing replicas using resin that mimics metal density. For screws, match thread pitch using a gauge—metric threads differ from imperial. Damping materials like sorbothane can replace deteriorated rubber rings. Always test replacements before final assembly: improper weight distribution causes imbalances. When in doubt, consult a specialist to avoid irreversible modifications.
Testing and Fine-Tuning Post-Restoration
Post-restoration testing involves both auditory and tactile checks. Play a variety of records—jazz for dynamic range, classical for high-frequency clarity. Listen for sibilance or skipping, which indicate improper tracking. Physically inspect the tonearm’s movement; it should pivot smoothly without binding. Use a strobe disc to verify rotational speed consistency, as imbalances can affect timing. Allow the turntable to run idle for an hour to ensure stability. Fine-tuning is iterative; small adjustments yield significant improvements.
Long-Term Maintenance and Care Tips
Regular maintenance prevents future wear. Dust the counterweight weekly with an anti-static brush. Every six months, check screws for loosening and reapply metal protectant. Store the turntable under a cover to shield it from humidity. Avoid placing it near speakers, as vibrations misalign the tonearm. Periodically verify tracking force with a gauge, especially after moving the turntable. For seldom-used units, rotate the counterweight slightly monthly to prevent settling.
Preserving Value in Vintage Audio Equipment
A well-restored counterweight enhances both performance and resale value. Document the restoration process with photos and notes—provenance matters to collectors. Retain original parts even if replaced; purists appreciate completeness. Use platforms like HiFi Shark to track market trends. Remember, modifications can devalue rare models; prioritize reversible techniques. A pristine, functional turntable isn’t just an investment—it’s a legacy of analog craftsmanship.