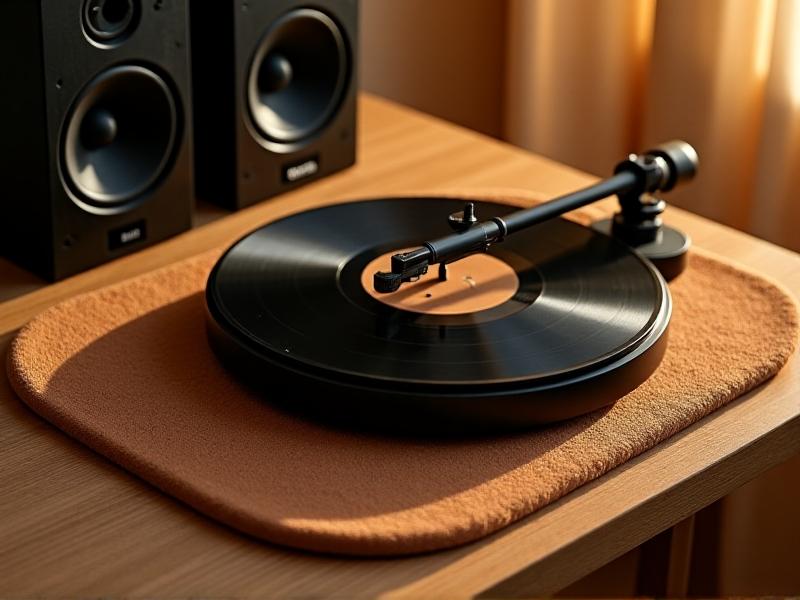
Voice Coil Rub Diagnosis & Repair
Understanding Voice Coil Rub: Origins and Symptoms
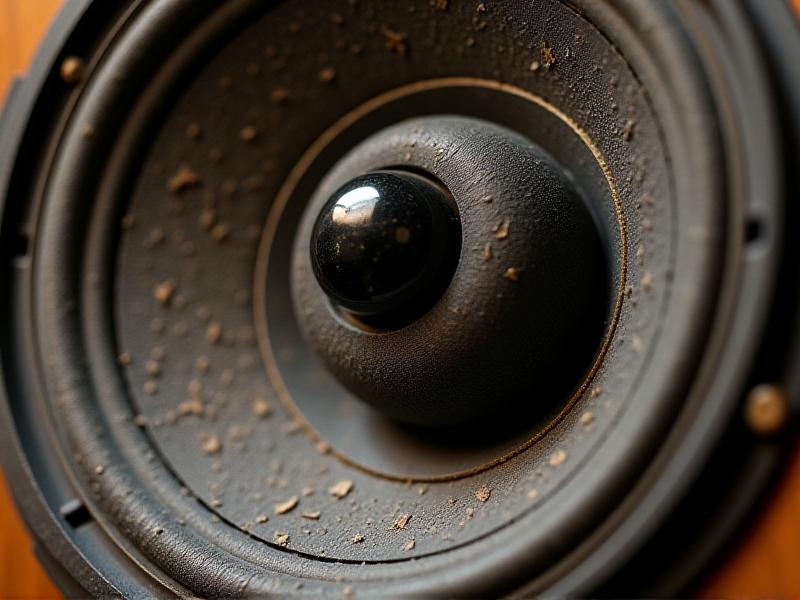
Voice coil rub is a common issue in loudspeakers and actuators, characterized by an audible distortion or scraping noise during operation. It occurs when the voice coil—a critical component that converts electrical signals into mechanical motion—becomes misaligned within the magnetic gap. Causes range from physical trauma (e.g., drops or impacts) to gradual wear from overheating or debris accumulation. Symptoms include buzzing, rattling, or a "rubbing" sound at specific frequencies, often worsening as the driver operates at higher volumes. Early detection is key to preventing permanent damage to the coil or diaphragm.
Diagnostic Techniques for Identifying Voice Coil Rub
Accurate diagnosis begins with isolating the problem. Start by playing a frequency sweep through the speaker; a distorted or intermittent sound near mid-range frequencies often signals coil rub. Gently pressing the diaphragm while it’s inactive can reveal uneven movement or resistance. For a deeper inspection, disassemble the driver and examine the coil for visible debris, warping, or scorch marks. A digital microscope or magnifying lens helps identify subtle imperfections. Advanced users may measure the coil’s impedance—abnormal fluctuations often correlate with misalignment. Always rule out other issues, such as loose components or damaged surrounds, before concluding it’s a coil rub.
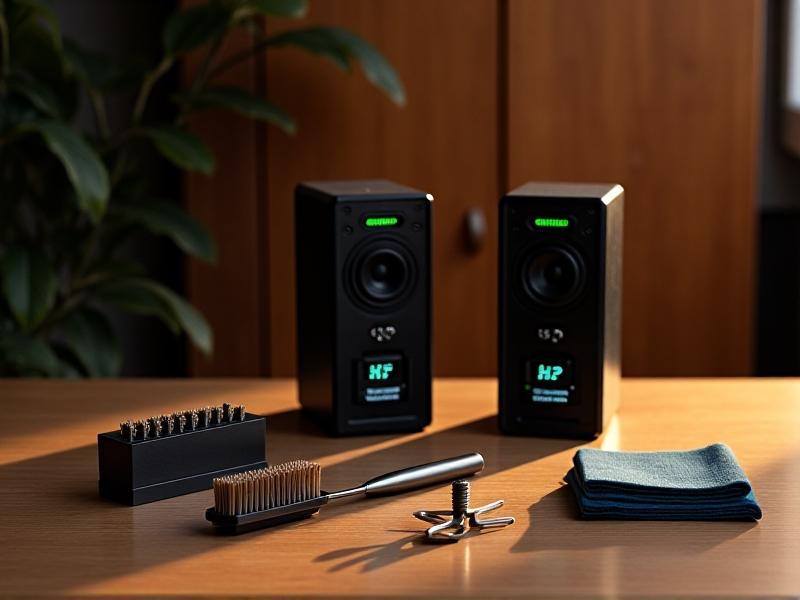
Step-by-Step Repair Guide: Fixing Voice Coil Misalignment
Repairing voice coil rub requires precision. Begin by removing the diaphragm or cone assembly to access the coil. Clean the magnetic gap with a soft brush or compressed air to eliminate debris. If the coil is bent, carefully realign it using non-magnetic shims or a specialized alignment tool. Apply a small amount of adhesive to secure the coil if necessary, ensuring it remains centered during curing. Reassemble the driver and test it at low volumes before gradual stress-testing. Patience is critical—rushing this process risks permanent damage. For severe cases, coil replacement or professional reconing may be required.
Preventing Voice Coil Rub: Maintenance Best Practices
Prevention hinges on proper handling and environmental control. Avoid exposing speakers to extreme temperatures or humidity, which can warp materials. Use protective grilles to minimize physical impact, and ensure amplifiers are properly matched to avoid overpowering, which strains the coil. Regularly inspect drivers for dust or foreign particles, and clean them with a microfiber cloth or low-pressure air. For high-stress applications, consider drivers with reinforced coils or cooling mechanisms. Implementing these practices extends lifespan and maintains audio fidelity.
Case Studies: Real-World Examples of Diagnosis and Repair
A studio monitor exhibited intermittent distortion at 1–2 kHz. Diagnosis revealed a tiny metal fragment lodged in the magnetic gap, likely from manufacturing. Cleaning resolved the issue. In another case, a subwoofer’s voice coil warped after prolonged use at maximum volume. The owner attempted DIY realignment but worsened the misalignment. Professional reconing restored functionality. These examples underscore the importance of methodical diagnosis and knowing when to seek expert help.
Common Pitfalls in Voice Coil Rub Repair and How to Avoid Them
One frequent mistake is using excessive force during realignment, which can deform the coil or diaphragm. Another is neglecting to test the driver incrementally post-repair, leading to undetected flaws. Avoid generic adhesives—they may not withstand heat or vibration. Always use manufacturer-recommended materials. Finally, overlooking environmental factors post-repair (e.g., reinstalling a speaker in a dusty area) invites recurring issues. Document each step and double-check alignments to ensure lasting results.