VU Meter Needle Replacement Options
Understanding VU Meters and the Role of the Needle
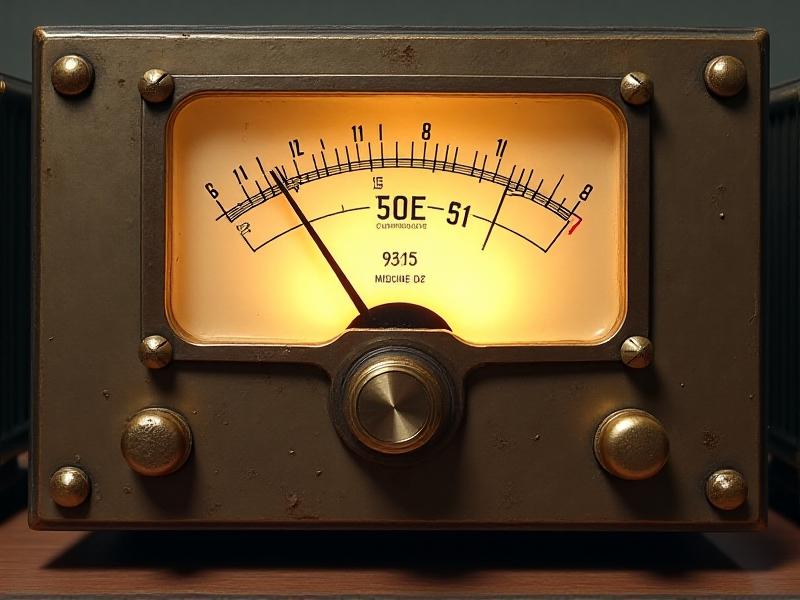
VU meters, short for Volume Unit meters, are iconic tools in audio engineering and vintage audio equipment. The needle—a slender, often brightly colored pointer—is the visual heartbeat of these devices, moving in response to audio signals. Over time, needles can wear out, bend, or break due to mechanical stress, dust accumulation, or accidental mishandling. Understanding the mechanics of a VU meter’s needle—its material, pivot mechanism, and calibration—is crucial for anyone looking to replace or repair it. Whether you’re restoring a classic reel-to-reel tape machine or maintaining a studio mixer, knowing how the needle interacts with the meter’s magnetic coil and damping system will inform your replacement strategy.
Common Reasons for VU Meter Needle Replacement

Needle replacement isn’t just about fixing visible damage. Fading paint on the needle tip can reduce visibility during critical audio monitoring. Older needles may also lose their balance, causing inaccurate readings. In rare cases, corrosion from humidity or oxidation weakens the metal. Additionally, hobbyists modifying equipment for aesthetic purposes might seek custom-colored or lightweight aluminum needles to match a design theme. Identifying the root cause of the issue—whether functional or cosmetic—helps determine whether a simple repair, professional service, or full replacement is necessary.
Types of Replacement Needles: OEM vs. Aftermarket
Original Equipment Manufacturer (OEM) needles are exact replicas designed for specific models, ensuring compatibility and performance. However, sourcing them for vintage gear can be challenging. Aftermarket options offer flexibility—third-party manufacturers produce needles in various materials and colors, though quality varies. Enthusiasts sometimes salvage needles from donor units, but this requires meticulous disassembly. For high-end audio restoration, OEM or precision aftermarket parts are ideal. For experimental or decorative projects, acrylic or 3D-printed needles provide creative freedom. Balancing authenticity, cost, and intended use is key when choosing a replacement type.
DIY Needle Replacement: Tools and Step-by-Step Guide
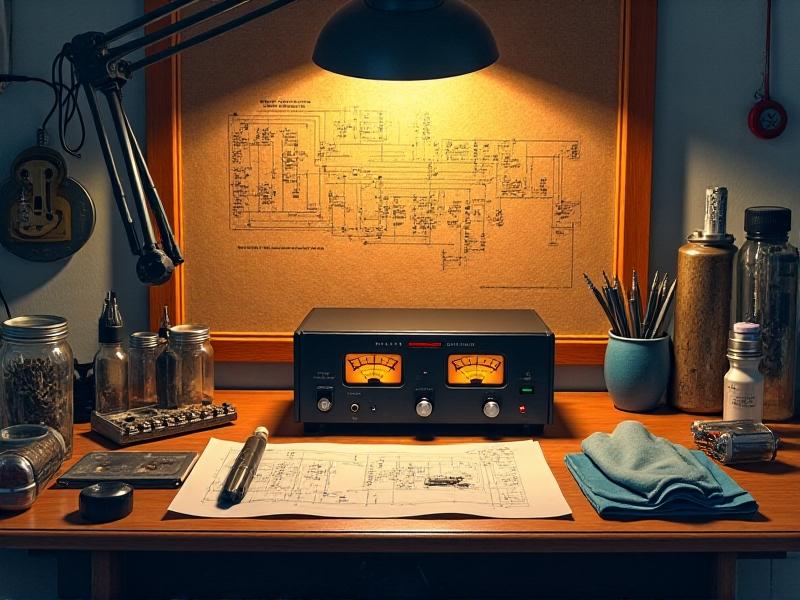
Replacing a VU meter needle requires patience and precision. Start by disconnecting power and removing the meter from the device. Use a jeweler’s screwdriver to open the casing, noting screw placements. Carefully lift the old needle from its pivot shaft—avoid bending the shaft or disturbing the damping fluid. Align the new needle’s base with the shaft and gently press it into place. Recalibrate using a reference audio signal to ensure accurate movement. While DIY can save costs, improper handling risks damaging the meter’s sensitive internals. Document each step with photos to simplify reassembly.
Where to Source Authentic or Custom Needles
Specialized audio repair shops and online marketplaces like eBay or Reverb often stock OEM parts. For rare models, forums like Gearspace or DIYAudio connect users with sellers. Custom fabricators on Etsy or laser-cutting services can create acrylic or aluminum needles to spec, though lead times may apply. When purchasing, verify dimensions—needle length, base diameter, and weight—against your meter’s requirements. For critical applications, consider sending the meter to a professional who can machine a bespoke needle. Always check seller reviews to avoid counterfeit or poorly crafted replacements.
Professional Repair Services: When to Seek Help
Complex issues—like a bent pivot shaft, damaged coil, or dried damping fluid—demand professional expertise. Certified repair technicians have tools for realigning mechanisms and recalibrating meters to factory standards. Services may include cleaning internal contacts, lubricating bearings, or replacing illumination bulbs. Costs vary, but for rare or historically significant equipment, professional restoration preserves value and functionality. Research technicians with experience in your specific brand, as nuances between manufacturers like Pioneer, TEAC, or Neumann can affect repair approaches.
Maintaining Your VU Meter Needle for Longevity
Preventive care extends needle life. Regularly dust the meter with a soft brush to avoid particles interfering with movement. Avoid touching the needle—oils from skin can corrode the surface. If the meter is exposed to humidity, store it with silica gel packets. Periodically check damping fluid levels (if applicable); cloudy or evaporated fluid causes sluggish needle response. For equipment in storage, cover the meter face with anti-static film to prevent static buildup. Gentle handling during transport minimizes shock damage. Establishing a maintenance routine reduces the likelihood of sudden failures.
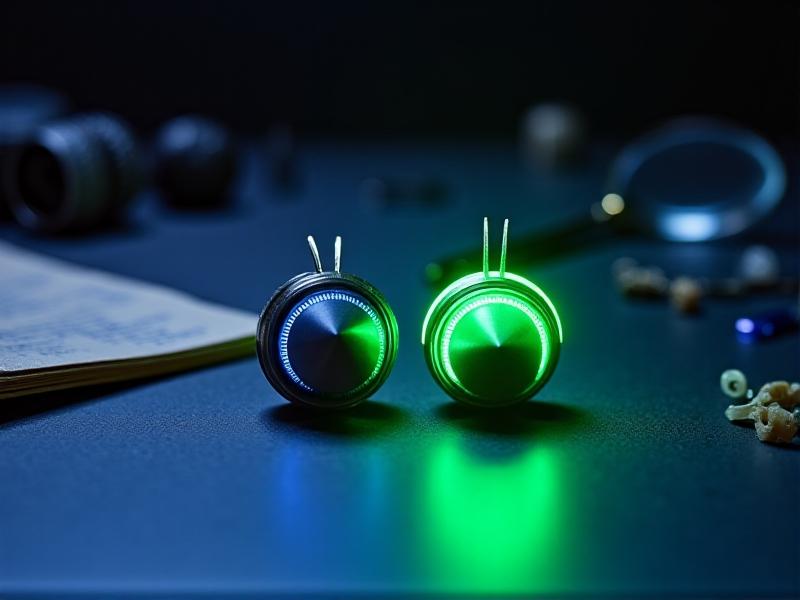
Creative Alternatives: Upgrading Beyond Traditional Needles
For those embracing a non-traditional aesthetic, alternatives abound. Fiber optic needles create a futuristic glow, while UV-painted tips add flair under blacklight. Some modders use smartphone-controlled servo motors to replace analog needles, integrating IoT capabilities. Artists might substitute the needle with a laser pointer projecting onto a wall. These projects require technical skill but transform a functional component into a statement piece. Always ensure modifications don’t compromise the meter’s primary role—unless, of course, the goal is pure art.